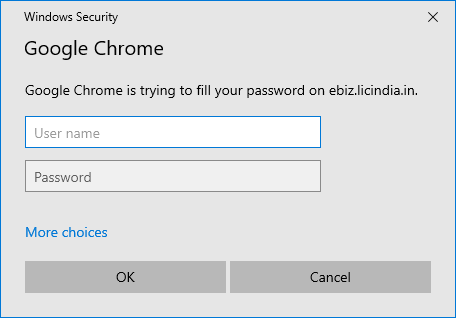
Every time you try to sign in to websites using saved credentials in Google Chrome, you may be asked to type your Windows username and password or your PIN for verification. You may wonder how to turn off the security requirement when auto-filling usernames and passwords on websites.Read more
General
How to Recover Chrome Bookmarks from Windows.old or Old Profile
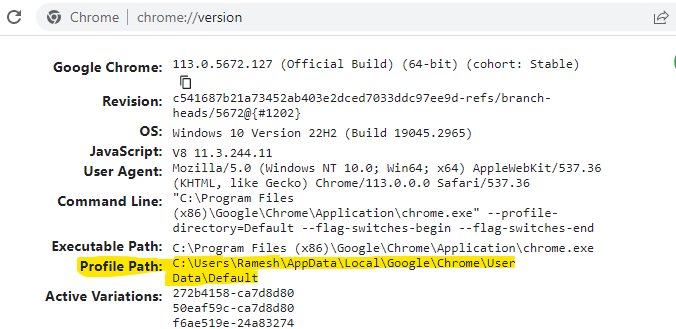
If you custom install Windows 10/11 using the Windows ISO, your files will be archived to Windows.old. Some users wonder how to retrieve Chrome bookmarks from the Windows.old folder. If you had enabled syncing, the bookmarks would be back when you sign in to that account using Chrome. However, if syncing wasn’t enabled, this article … Read more
Fix: Unremovable “Apps” Extension in Edge or Chrome
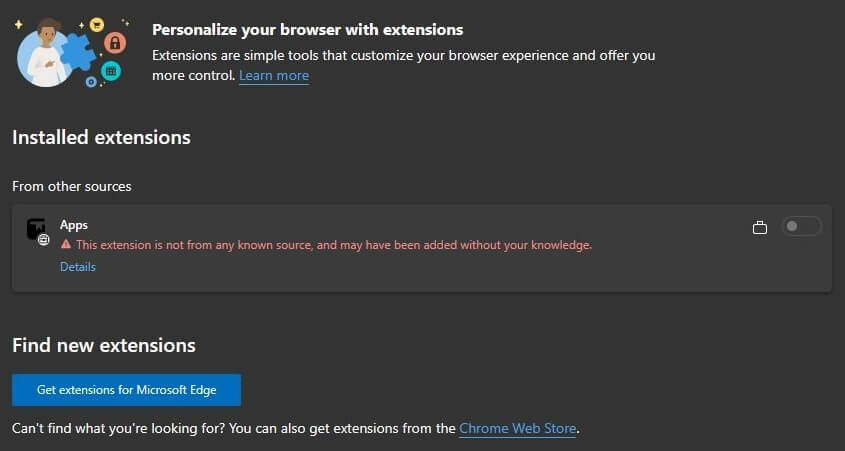
Of late, many users are facing a problem where a rogue browser extension named “Apps” appears in Chrome or Edge. Also, the user is unable to remove the extension. Attempting to remove the extension via the registry or deleting the extension folder doesn’t help, as the extension is automatically installed whenever the user opens Edge or Chrome.Read more
How to Transfer Chrome Profiles to Another Computer
Google Chrome’s synchronize feature stores a copy of your entire browser settings in the cloud and synchronizes it with your other devices. It can sync your Apps, Bookmarks, Extensions, History, Settings, Themes, Reading List, Open Tabs, Passwords, Addresses, phone numbers, payment methods, etc. With sync, all you need to do is install the Chrome browser on a new computer and log in to the same Google account. This transfers all of the above settings to the new device.
But if you don’t prefer logging into a Google account in Chrome browser, you’ll need to backup and restore your data manually, as the synchronize feature requires a Google account.
This post tells you how to backup Chrome profiles manually and restore them on another computer. The instructions would be helpful if your old Windows user profile has been corrupted and you want to restore the Chrome settings to the new profile.Read more
Buy Logitech Folio Touch keyboard for iPad Air 4 in India
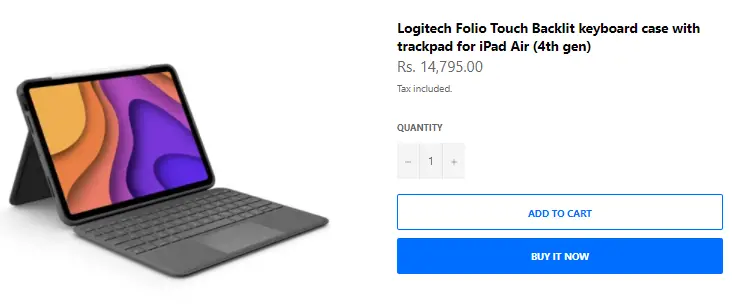
If you have an iPad Air 4th generation device and looking to buy a touch keyboard folio case, you have two options. One is the Apple Magic Keyboard, and the other (affordable for most) is the Logitech Folio Touch keyboard Case for iPad Air (4th gen).
Apple Magic Keyboard for iPad Air 4 sells for Rs. 27,900 (MRP), and Logitech’s product sells for almost half the price. Many people wonder where to buy a Logitech Folio Touch keyboard Case for iPad Air (4th gen) in India.
[Firefox] Restore Missing “View Image” Menu Option
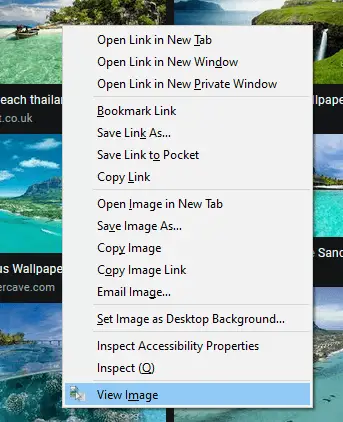
In Firefox v88, some context menu options have been removed. One of the most useful options that is removed is the “View Image” context menu. It’s now replaced by “Open Image in New Tab,” which opens the image in a new tab (or a new window if the Shift key is pressed) instead of the same tab.
If you’re wondering how to get back the View Image menu option back in Firefox, a simple Firefox extension is available.Read more
What is Reading List in Chrome and how to Disable it
After updating to Chrome browser version 89 or higher, you’ll see a new “Reading List” button on the right-hand side of the bookmarks bar. If you’ve been using the “Other bookmarks” folder, its icon is moved slightly to the left, as the “Reading List” button occupies the right-most slot.
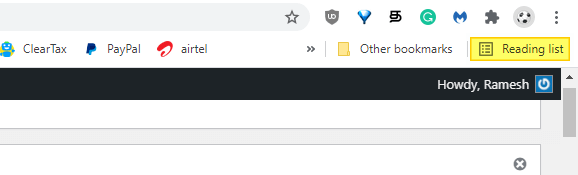
You may be wondering what is the Chrome “Reading List” icon all about, how it is different from the bookmarks feature, or how to remove the Reading List button from the toolbar.Read more
Register Google Chrome Portable with Default Apps or Default Programs
A long time back, I made a simple program that will register Mozilla Firefox Portable with Default Programs or Default Apps in Windows. Many users asked if a tool can be made for other portable browsers, such as Opera, Chrome, etc.,
This post has a VBScript that will register or unregister Google Chrome Portable (from PortableApps.com) with Default Apps in a single click. After registering, you can set Chrome Portable as the default browser via Default Apps.Read more
Fix: Google Chrome Freezes on Clear Browsing Data
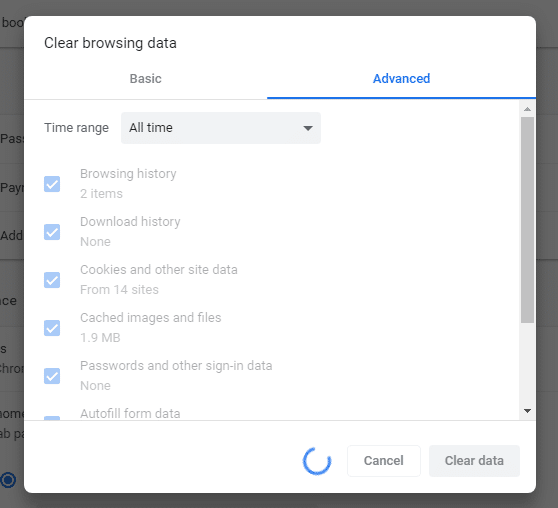
After updating to Google Chrome version 74.0.3729.nnn, many users are facing a problem where the Clear browsing data option doesn’t work. Clicking on the option may hang Chrome, and the cache is not cleared. When you click Clear data, the blue circle will keep spinning round and round for hours. This issue happens regardless of … Read more
How to Clear Firefox Cache, Cookies, History for Specific website
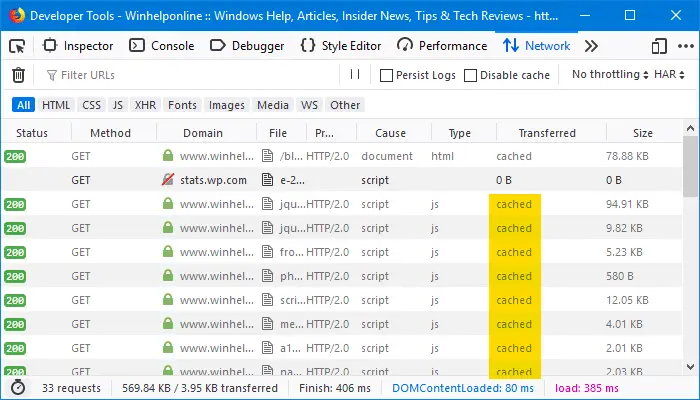
You may sometimes need to clear the browsing history when testing websites, especially if you’re a developer. Web developers use the F12 developer tools (a.k.a. Inspector) disable caching when designing web sites.
Besides the developer tools method, there is another excellent Firefox feature called Forget About This Site that clears the cache, cookies, site data and history for a specific website in a single click.Read more
