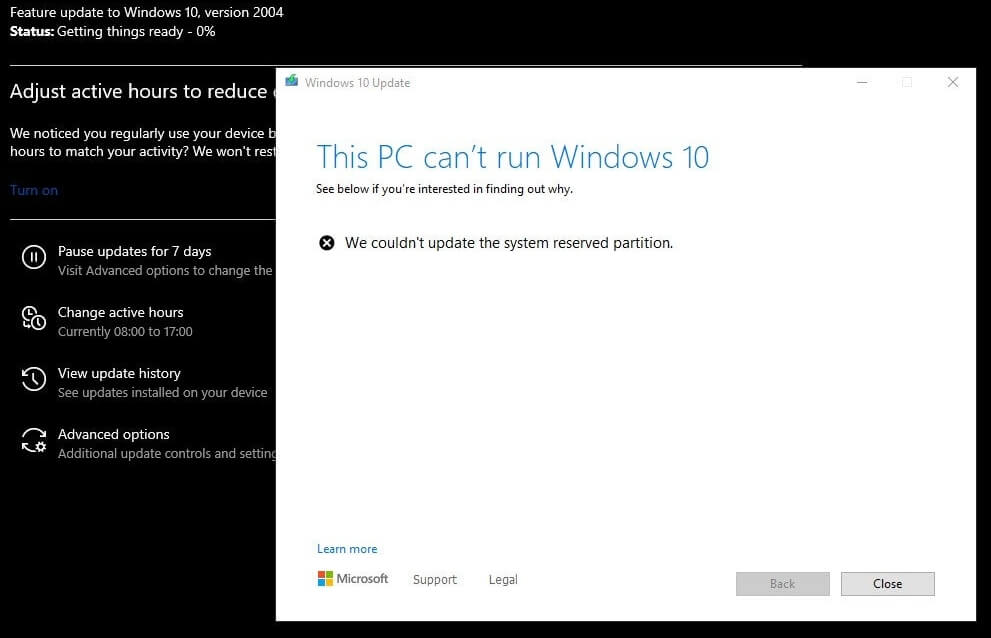
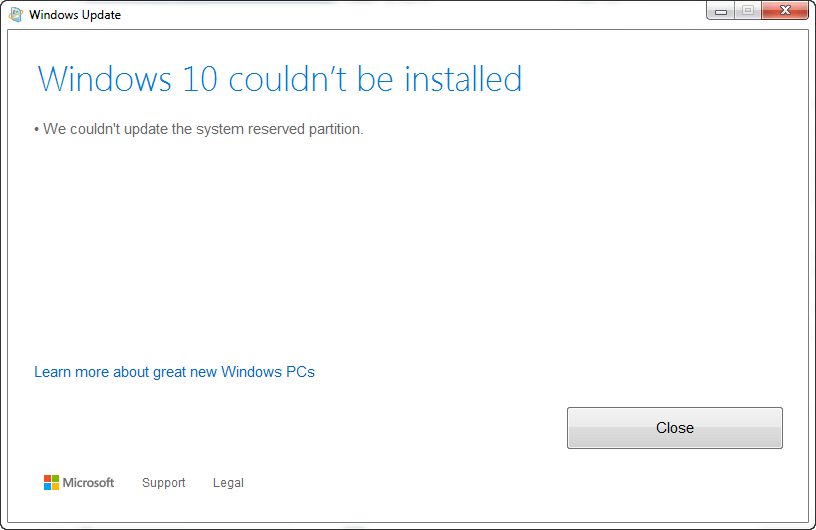
When upgrading to Windows 10 or 11 from Windows 7, 8, or 8.1, or updating Windows 10 or 11, you might encounter the error We couldn’t update system reserved partition, or error 0xc1900104, or error code 0x800f0922.
https://www.winhelponline.com/blog/0xc1900201-windows-feature-update/
When this happens, the setupact.log in the Panther directory may contain the following entries:
Info       CFreeSystemPartitionDiskSpaceChecker: checked InsufficientSystemPartitionDiskSpace, found HardBlock.Not enough space on partition [\\?\GLOBALROOT\Device\HarddiskVolume1\] Required: 15 MB. Available: 9 MB.
Info       ConX::Compatibility::FreeSystemPartitionDiskSpaceCheckerImpl::SaveToPersistableData: Save data - FreeSystemPartitionDiskSpaceCheckerImpl = no
Info       ConX::Compatibility::CCompatibilityHost::SerializeData: Provider wsc:setup: is serializing 28 bytes of data.
Info       [0x090008] PANTHR CBlackboard::Open: C:\$WINDOWS.~BT\Sources\Panther\CompatScanCache.dat succeeded.
Info       [0x090009] PANTHR CBlackboard::Close: c:\$windows.~bt\sources\panther\compatscancache.dat.
Info       ConX::Compatibility::CCompatibilityController::ReportData: Type: [0], ID: [2], ReportOption: [2]
Info       ConX::Compatibility::CCompatibilityHost::SetScanResult: Provider wsc:setup: reports HardBlock

Info       MOUPG  InitializeRoutine: MOSETUP_ACTION_IMAGE_EXIT
Info       MOUPG  ImageExit: Initializing SetupResult: [0xc1900201]
Info       MOUPG  ImageExit: Initializing Extended:    [0x20008]
This happens if the System Reserved Partition (SRP) or the EFI partition is full. The EFI or the System Reserve Partition partition on your hard drive that stores boot information for Windows.
According to Microsoft, to upgrade your device, you’ll need to free up 15MB of space on the SRP using the appropriate method below. And then try the upgrade again. If you’re updating Windows 10, you need to free up 13MB.
Contents
[Fix] “We couldn’t update system reserved partition” error
As per Microsoft, the errors 0x800F0922 and We couldn't update system reserved partition can occur if the System Reserved Partition (SRP) is full. The System Reserved Partition is a small partition on your hard drive that stores boot information for Windows.
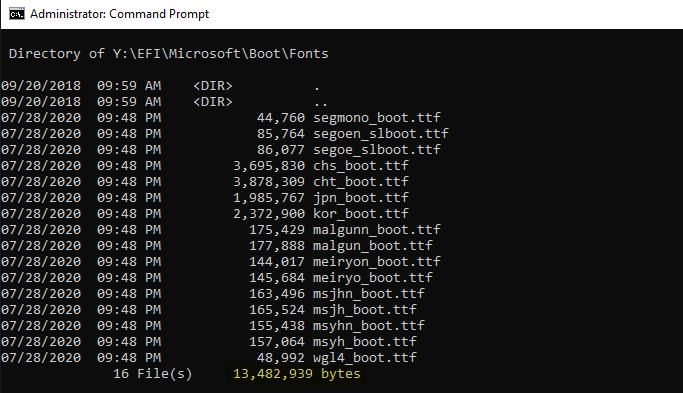
We can free up approximately 13 MB of disk space by deleting unused font (*.ttf) files in the System Reserved partition or EFI partition. Follow the steps below:
Caution: As the following steps are complicated, and carry some risk, make sure you backup your data or make a complete image backup, before proceeding. If you make an error in entering these commands, you could put your device in a no-boot situation, and possibly lose data you have stored on the device.
Some OEMs place the BIOS update images in the SRP or EFI system partition and that can fill it up. Also, there are many unused font (*.ttf) files inside the EFI or SRP that you can remove to free up disk space.
The System Reserved partition doesn’t have a drive letter assigned by default. If you have an MBR partition, you can use Disk Management to assign a drive letter for the System Reserved partition and browse the contents with File Explorer. For GPT disks, you need to use the mountvol command to assign a drive letter.
Let’s now access the SRP and delete the unused font files from the Boot\Fonts directory inside SRP.
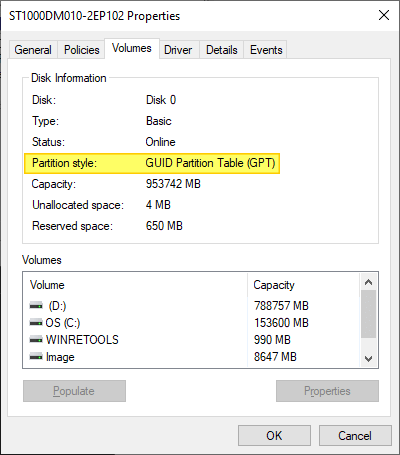
Find if the disk is MBR or GPT
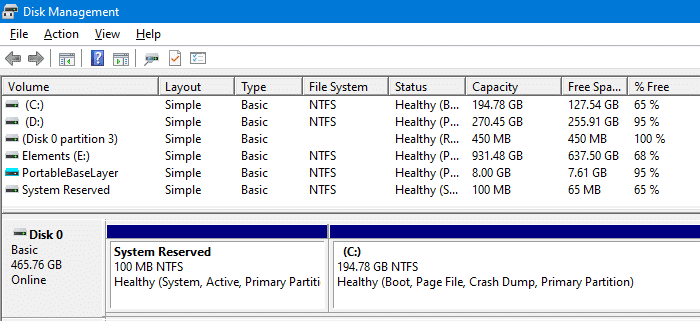
- Right-click Start, and click Disk Management.
- Right-click on the Disk (such as Disk 0) that contains the System Reserved partition, and select Properties.
 Note that you’ll need to right-click on the Disk # on the left. Instead, if you right-click on the SRP partition itself, you won’t see the Properties option.
 - In the Volumes tab, you can determine the Partition Style. It may either be GUID Partition Table (GPT) or Master Boot Record.
Free up System Reserved partition disk space
Second, choose which method you need. If you’re facing issues upgrading to Windows 10 from Windows 7 or Windows 8, follow the instructions for Windows 7 or Windows 8, respectively. If you’re updating Windows 10 (Feature Update or Cumulative Update) and facing the System Reserved partition error, then follow the instructions for Windows 10.
Windows 10/11 Instructions for GPT disk:
- For UEFI/GPT disks, you’ll need to open an admin Command Prompt window and mount the System Reserved partition to a drive letter using
mountvolcommand.mountvol y: /s
The above command mounts the System Reserved partition to Y:\ drive letter. You can’t explore the drive using File Explorer, though.
- Switch to the Y drive by typing the following, and press Enter.
Y:
- Then, navigate to the Fonts folder by typing:
cd EFI\Microsoft\Boot\Fonts
- Once there, type the following to delete font files.
del *.ttf
(when the system asks you for confirmation, press Y and then Enter to continue.)
The above command deletes all the files from the Fonts folder and frees up disk space to the tune of 13 MB approximately.
Windows 10/11 Instructions for MBR disk:
- Right-click Start, and click Disk Management.
- Select the partition marked System Reserved.
- Right-click on it, and select Change Drive Letter and Paths.
- Choose Add.
- Enter Y for the drive letter.
- Click OK.
- Open a Command Prompt window under
TrustedInstallerrights. To see how to open Command Prompt under Ti rights, see the article How to Run Programs as TrustedInstaller.Note that the files inside the System Reserved partition are owned by TrustedInstaller. - In the command prompt, type
Y:and hit enter to switch to that drive. - Then, navigate to the Fonts folder by typing:
cd Boot\Fonts
- Make sure you are located in
Fontslocation (Y:\Boot\Fonts). Then, type the following command to delete font files.del *.*
(The system would ask you if you are sure to continue, press Y and then Enter to continue.)
- Go back to Disk Management and Refresh the data to confirm if the SRP now has a greater percentage of free space. If so, the drive letter can be removed at this point.
- Right-click the System Reserved Partition.
- Select Change Drive Letter and Paths.
- Choose the
Y:drive. - Select Remove.
- Click OK.
Hope you were now able to upgrade to, or update Windows 10 without getting the error “We couldn’t update system reserved partition”.
One small request: If you liked this post, please share this?
One "tiny" share from you would seriously help a lot with the growth of this blog. Some great suggestions:- Pin it!
- Share it to your favorite blog + Facebook, Reddit
- Tweet it!
Use PowerShell to assign a letter to the recovery partition:
1) diskpart
2) list disk
3) select disk 0
4) list partition
5) select partition 1
6) assign letter=X
7) Now you can navigate to drive letter X using My Computer / Explorer and delete all the files located in the “Boot\Fonts” folder.
8) remove letter=X
9) Windows Upgrade / Installation should now work.
i haven’t acces of drive letter X