If your current Windows 10 installation gets corrupted, you’ll be able to use the recovery drive to reinstall Windows 10 — restoring the same build and version of Windows 10 you were using, along with the installed drivers and preinstalled customizations.
For this, you’ll need to have created a USB recovery drive beforehand — when your system was healthy. Recovery Drive can also be useful if you’ve replaced your hard drive and want to install Windows 10 on it.
Restoring from Windows 10 USB recovery drive is equivalent to using the Remove Everything option in Refresh/Reset this PC in the Windows 10 settings. The recovery drive is an alternative if Windows doesn’t boot.
It’s important to note that the USB recovery drive will not backup or restore your personal files. Also, any applications that did not come with your PC will not be backed up.
It’s recommended to create a new recovery drive after installing every feature update, which is released twice a year. Personal files and any applications that did not come with your PC will not be backed up. You’ll need a USB drive that’s at least 16 gigabytes.
Contents
How to Create a Recovery Drive in Windows 10
Right-click Start, click Run. Type recoverydrive.exe and click OK.
Select Back up system files to the recovery drive checkbox, and click Next.

The recovery drive utility analyzes the Windows RE image, recovery partition, and the system files. This process may take a couple of minutes.
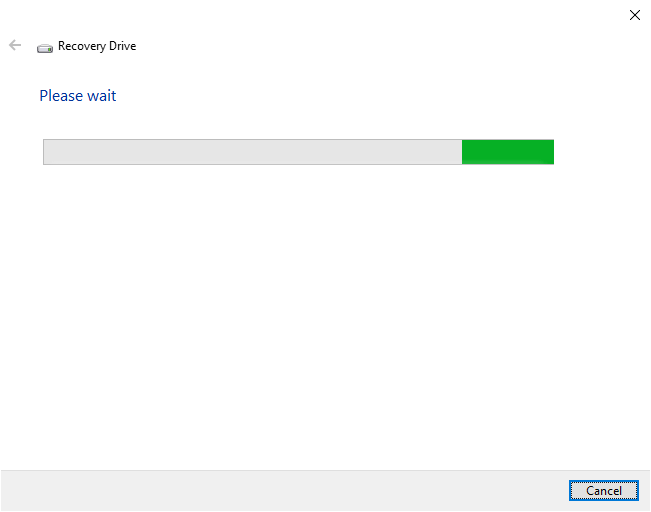
Depending upon the configuration of your computer, you may be asked to insert an 8 GB, or 16 GB, or 32 GB USB drive.
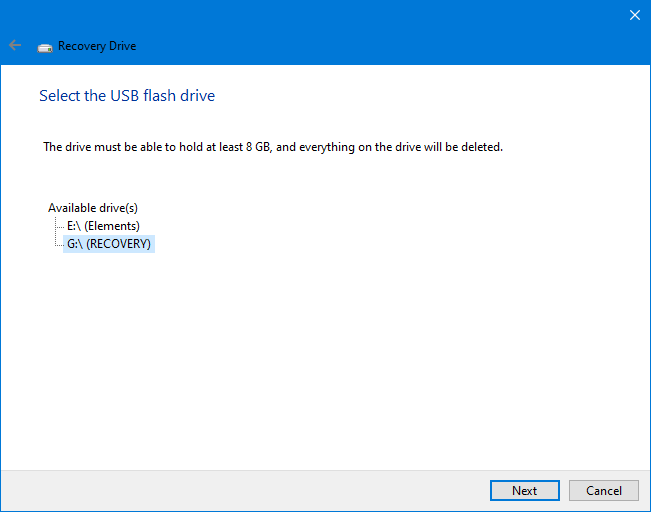
After selecting the drive and click Next, you’ll be warned that the USB disk will be formatted, and data in that drive will be completely erased.
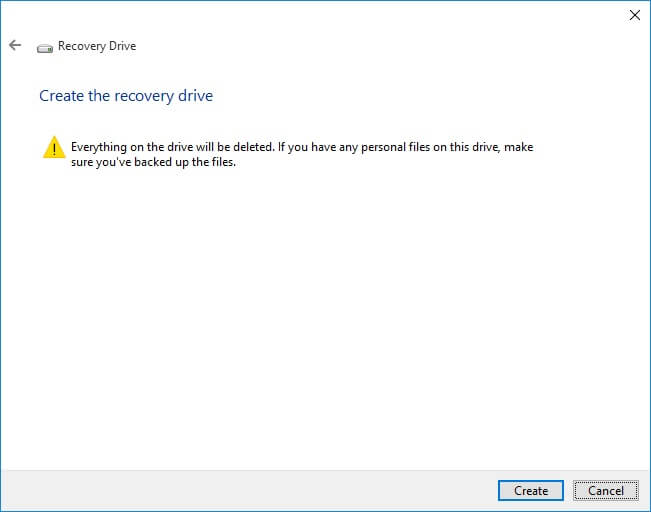
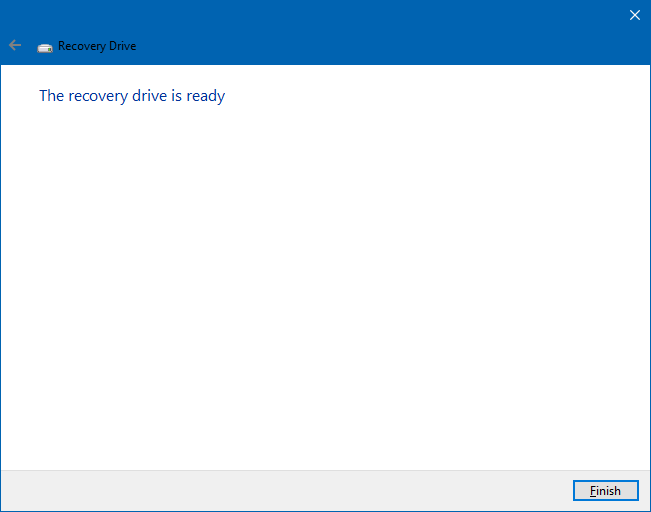
Click on the Create button. The recovery drive creation process may take an hour or even more.
How to Reinstall Windows 10 from the Recovery Drive
If Windows crashes and the built-in Windows Recovery Environment doesn’t load, you may use the recovery drive you created earlier to reinstall Windows.
Connect the recovery drive to your computer and boot from it. Note that you need to change the boot order in the BIOS/UEFI to USB external drive. Refer to your motherboard/computer documentation for instructions on how to boot from a USB drive.
The new Dell systems require pressing F2 or F12 to enter the BIOS/UEFI firmware setup page. Some systems require pressing the DEL, ESC, F2, F9, F10 keys when the boot logo appears.
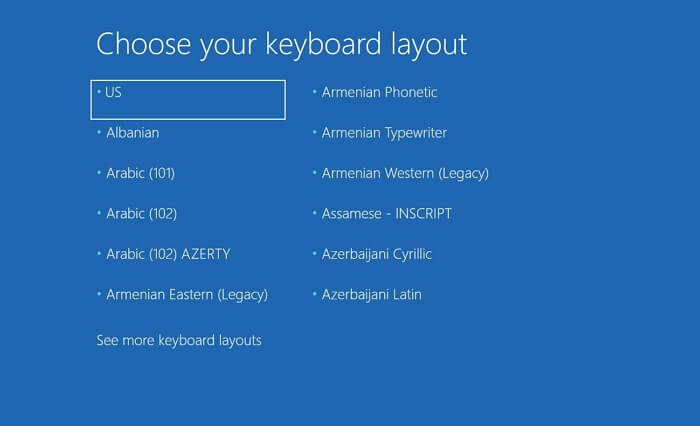
Once you boot from the recovery drive, you’ll see the keyboard setup screen as below:
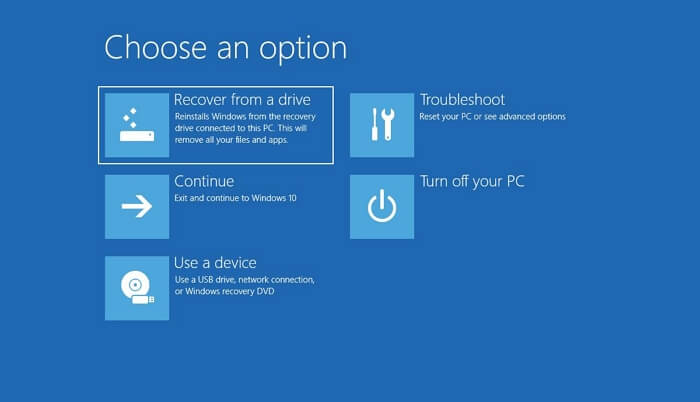
You’ll see the option named Recover from a drive along with the other standard Windows recovery options.
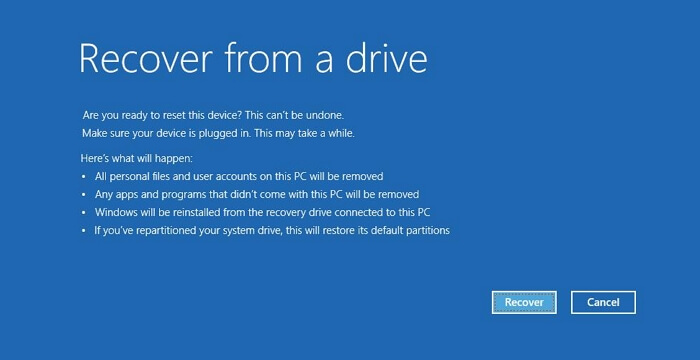
When you see the following warning page, click Recover.
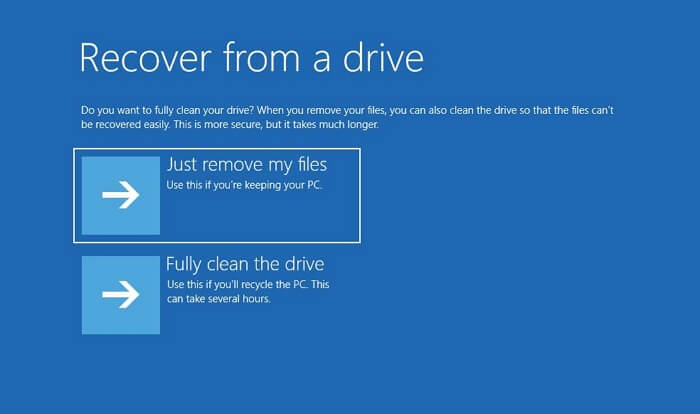
Choose one of the two options depending upon your requirement — Just remove my files or Fully clean the drive.
![]() Brief information about each option is discussed in the paragraph What happens when you recover Windows from the recovery drive? above.
Brief information about each option is discussed in the paragraph What happens when you recover Windows from the recovery drive? above.
Follow the on-screen instructions and complete the process. Note that the fully clean… option can take hours to complete.
Recovery drive FAQ
Here are some Frequently Asked Questions (FAQ) about the USB recovery drive feature in Windows 10.
What happens when you recover Windows from the recovery drive?
Here is what happens when recovering from the Windows 10 USB recovery drive.
When you boot the computer with the USB recovery drive, you’re taken to the Windows Recovery Options page. In the Troubleshoot section of Windows RE, you’ll see these two options:
- Just remove my files (Use this if you’re keeping your PC.)
- Fully clean the drive (Use this if you’ll recycle the PC. This can take several hours.)

Just remove my files deletes the files without writing zeros. This option quick formats the disk but doesn’t fill the free space with zeros. That means anyone who has access to the drive can still undelete the files.
Fully clean the drive option full formats the drive and writes the free space with zeros and makes sure that the files are not recoverable. This option is recommended if you’re giving away the computer to someone. This option takes a long time to complete.
Selecting either of the above options will do this:
- All personal files and user accounts on this PC will be removed.
- Any apps and programs that didn’t come with this PC will be removed.
- Windows will be reinstalled from the recovery drive connected to this PC.
- If you’ve repartitioned your system drive, this will restore its default partitions.
As said earlier, the above two recovery options are equivalent to the Remove Everything option in Refresh/Reset this PC on the Windows 10 settings page. The recovery drive method is an alternative if Windows 10 or the Windows 10 Recovery Environment doesn’t boot.
Recovery drive size requirement — 8 GB, 16 GB, or 32 GB?
The USB recovery drive size requirement varies depending upon the configuration of your computer. If you have an OEM recovery and factory image partition(s), you may be asked to insert a 32 gigabytes USB drive. In some configurations, an 8 GB drive would suffice.
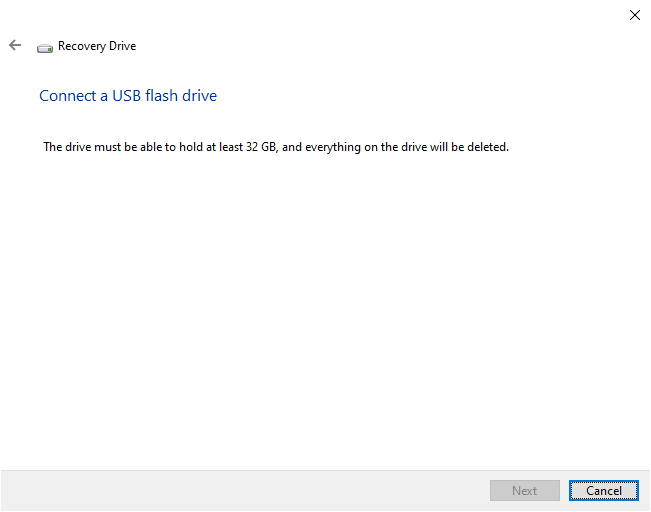
In the above case, the system has around 10 GB in two Dell partitions. One of the partitions (DELLSUPPORT) stored the Dell recovery environment image, and the other partition named Image stored the complete factory restore image files. Hence, the recovery disk creator insisted on a 32 GB USB disk.
Is the Recovery Drive feature reliable?
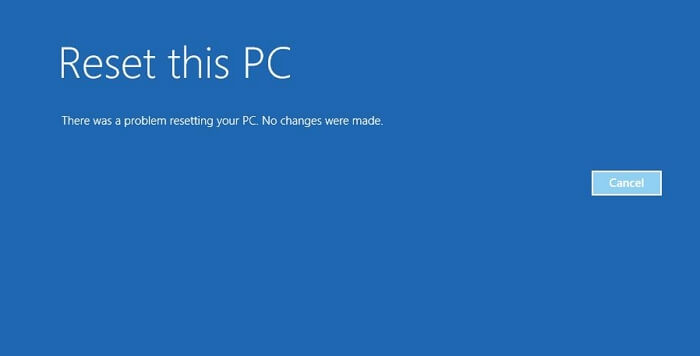
Generally speaking, the built-in backup or recovery features provided by Microsoft are very basic. You don’t get proper support or fixes for many issues. The recovery drive creation process can fail for some users, owing to the volume shadow copy service permission issues or the recovery partition corruption (or deletion) issues.
Here is a couple of the most common issues faced by users during the recovery drive creation process.
- “We can’t create a recovery drive on this PC” Error in Windows 10
- A problem occurred while creating the recovery drive
Additionally, the recovery drive creation process is a tedious process of assembling each system file into WIM files (Reconstruct.WIM, Reconstruct.WIM2, etc.), copying the files from the recovery partition to the USB drive. The process takes not less than 1 hour and can go on until 2 hours in some systems.
On one computer I tested, the excellent image backup utility Macrium Reflect (free) took only 12 minutes to create a complete image of all the partitions. Whereas the recovery drive creation process on the same computer took an hour to complete.
Even if the recovery drive creation process succeeds, you don’t have a guarantee that the recovery drive will help you during a disaster. It’s prone to errors and difficult to diagnose.
So what’s the better alternative?
- Instead of a recovery drive, I’d advise users to get a good image backup solution such as Macrium Reflect (free). Macrium also lets you create a rescue media, which is something like a Windows PE environment. Using the Macrium rescue media, you can restore a Macrium image that you created earlier. It’s lightning-fast, too.
- If you’re not fond of 3rd party solutions, the second-best option would be to use the built-in System Image backup tool. It can be accessed from All Control Panel Items → Backup and Restore. Once a system image is created, also create a USB recovery drive with the “back up system files” option unchecked (see next section for an explanation about this checkbox option). In the event of a Windows crash, you can use the basic recovery drive to boot into Windows RE and then restore Windows using the previously created system image.
Enable “Back up system files to the recovery drive” or not?
If you uncheck the Back up system files to the recovery drive option when creating a recovery disk, the recovery disk will only contain the files required to boot into the Windows Recovery Environment. From there, you can perform tasks like Startup Repair, System Restore, Uninstall updates, System image restoration from an existing image stored in the internal or external hard disk, etc. If your Windows 10 computer doesn’t start, you can use a recovery drive to recover your PC or restore it from a system restore point. The disk won’t contain your system files or the recovery image, etc.

Whereas, if the Back up system files to the recovery drive option is selected, the following items are supposed to be copied onto the USB recovery media as well, into WIM files named Reconstruct.WIM, Reconstruct.WIM2 and so forth.
- Windows Component Store (WinSxS folder)
- Installed drivers
- Backup of preinstalled Windows apps
- Provisioning packages containing preinstalled customizations (under C:\Recovery\Customizations)
- Push-button Reset configuration XML and scripts (under C:\Recovery\OEM)
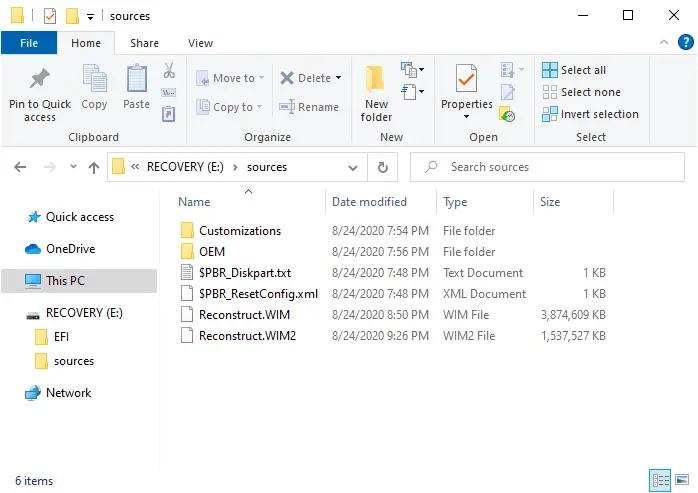
Note: The personal files won’t be backed up or restored when you do a bare metal recovery using the Recovery Drive.
Windows 10 v2004 was the current version when this article was written.
One small request: If you liked this post, please share this?
One "tiny" share from you would seriously help a lot with the growth of this blog. Some great suggestions:- Pin it!
- Share it to your favorite blog + Facebook, Reddit
- Tweet it!