Sometimes your snaps may come up slanted, especially when you take photos while on the move. These snaps can be straightened using Photoshop or other specialized digital imaging tools. If you’re looking for a free option, then you have the built-in Photos app or Windows Live Photo Gallery (part of Windows Live Essentials).
These two free apps have an option to easily straighten skewed or crooked pictures.
How to Straighten Slanted Photos
Using the Photos app
The built-in Photos app offers options to edit a photo, rotate, crop, convert from color to greyscale, and more. To straighten a skewed image using the Photos app, follow these steps:
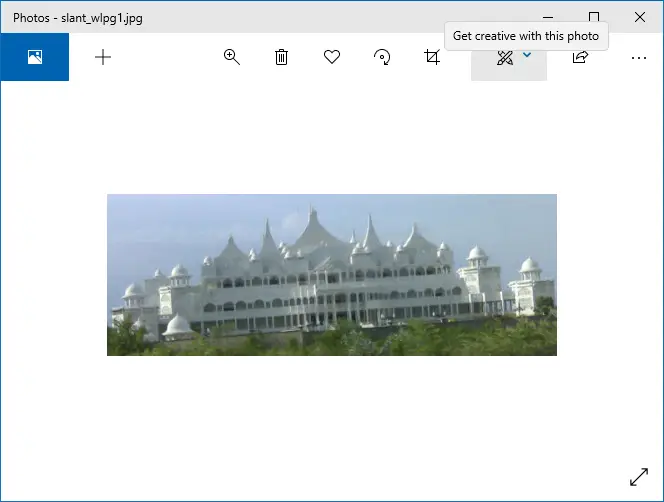
- Open the photo or image using the Windows 10 Photos app.
- Click on Crop or the Edit & Create glyph icon at the top, and then click Edit. Alternatively, press Ctrl + E on your keyboard.
- In the Edit window, use the “Straightening” slider accordingly to rotate the image as desired.
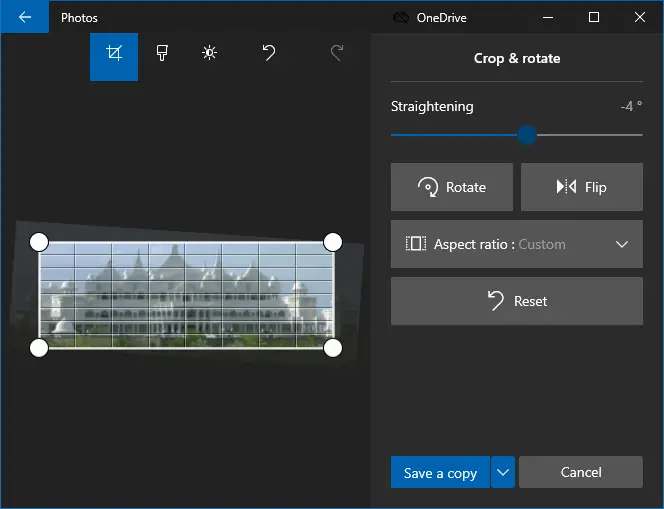
Photos app screenshot – Windows 10 v2004  When you move the straightening slider with the mouse, you’ll see grid lines in the image for guidance. You can align a horizontal or vertical edge of the image with the grid lines to ensure straightness. Once you release the mouse button from the straightening slider, the grid lines disappear.
For granular control, you can click on the straightening slider and use the left or right arrow keys instead of your mouse. However, the guiding gridlines won’t appear if you use the Up or Down buttons (instead of the mouse) to move the slider.
- Once done, save a copy of the image and quit the Photos app.
If you’re not fond of the manual rotate option, then try the Windows Live Photo Gallery program. It has a button that straightens an image in a single mouse click.
Using Windows Live Photo Gallery
Windows Live Photo Gallery is part of the Windows Live Essentials suite, which Microsoft has now discontinued. You can download it from 3rd party sources, though.
I had a couple of slanted snaps (taken from a moving car) lying in my hard disk, which I just straightened using Windows Live Photo Gallery. Before starting, make a backup copy of the original images in a safe location.
- Open the photo using Windows Live Photo Gallery.

- If the editing options are not already available in the right pane, click the Fix button at the top. This button toggles the display of image editing controls.
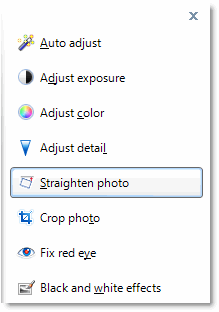
- Click Straighten photo, and then click Apply.

The changes are saved automatically when you close Windows Live Photo Gallery.
What’s your freeware image-editing software for precise rotation or straightening crooked images? Let’s know your comments.
One small request: If you liked this post, please share this?
One "tiny" share from you would seriously help a lot with the growth of this blog. Some great suggestions:- Pin it!
- Share it to your favorite blog + Facebook, Reddit
- Tweet it!
I was looking for correction of a trapezoid (skew) deformity, which would involve manipulating (moving) the picture handles on the CORNERS individually (i.e., one at a time). Otherwise, your tutorial is pretty good. Thank you so much. I would sure appreciate your tutorial on correction of skew.