If you’ve changed the default font settings and other options in WordPad or Notepad and want to revert back to Windows default values, this post tells you how to do that.
Reset Notepad settings
If you’ve altered the default Notepad font or encoding (using the iDefaultEncoding registry value), the margin, and header settings incorrectly, you can quickly reset them to the default values.
The settings for Notepad are stored in this registry key:
HKEY_CURRENT_USER\SOFTWARE\Microsoft\Notepad

Right-click on the key and choose Delete.
Exit the Registry Editor.
Note: The Notepad Store app (UWP) is bundled by default on Windows 11. In that case, you need to access “Settings” → “Apps” → “Apps & Features” in order to reset the new/modern Notepad settings.

Reset WordPad Settings
To reset WordPad settings, follow these steps:
Start Regedit.exe and go to:
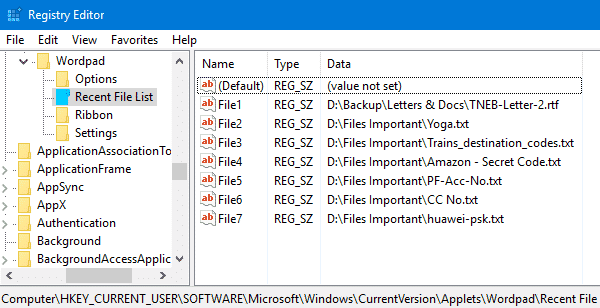
HKEY_CURRENT_USER\SOFTWARE\Microsoft\Windows\CurrentVersion\Applets\Wordpad
The Options subkey stores the Wordpad settings you configured. Delete this key would restore the original settings when you open Wordpad next time.

The Recent File List subkey stores the list of most recently used files in Wordpad, which is shown when you click the File menu in Wordpad.
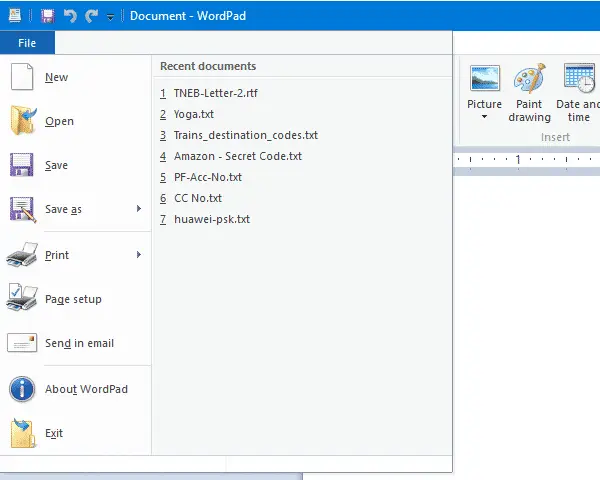
To clear the most recently used files listing, delete this key.
Using Command-line or Batch file
To do this quickly using the command-line, run this from Command Prompt.
reg delete HKCU\SOFTWARE\Microsoft\Notepad /f
reg delete HKCU\SOFTWARE\Microsoft\Windows\CurrentVersion\Applets\Wordpad /f
You should see the message The operation completed successfully.
One small request: If you liked this post, please share this?
One "tiny" share from you would seriously help a lot with the growth of this blog. Some great suggestions:- Pin it!
- Share it to your favorite blog + Facebook, Reddit
- Tweet it!
Actually I’m trying how to set the defaults for font, spacing, etc.
-I Don’t know how i reset the defaults for Wordpad
@harcha: Tried the “Reset WordPad Settings” section in this article?
Thank you.
Ramesh –
What I want to do is CHANGE the default settings for wordpad. In this article, you explain what to do if someone has already changed the defaults, but I don’t know how to do that. I want to. I am getting sick and tired of always having to change from Calibri 11 to Arial 14 EVERY SINGLE TIME I start a new document.
WHERE ARE THE DEFAULT VALUES LOCATED? I can’t seem to find them.