Here’s the Windows 11 clean installation walkthrough. The screenshots below are from the Windows 11 24H2 setup.
Before proceeding, please do the preliminary tasks mentioned below:
- Use the PC Health Check app to determine if your PC is compatible with Windows 11. See How to use the PC Health Check app.
- If your PC meets the Windows 11 system requirements, create a Windows 11 USB setup disk using the Media Creation Tool from another computer. For more information, see How to Download Windows 11 ISO Using Media Creation Tool.
Windows 11 Clean Installation using USB
After creating the USB setup disk, boot the computer using it. To do so, you may need to change the boot order in the BIOS/UEFI settings. Consult your system or motherboard manual to learn how to access the UEFI settings for your model.
Boot the system from the USB setup disk and follow the onscreen instructions.
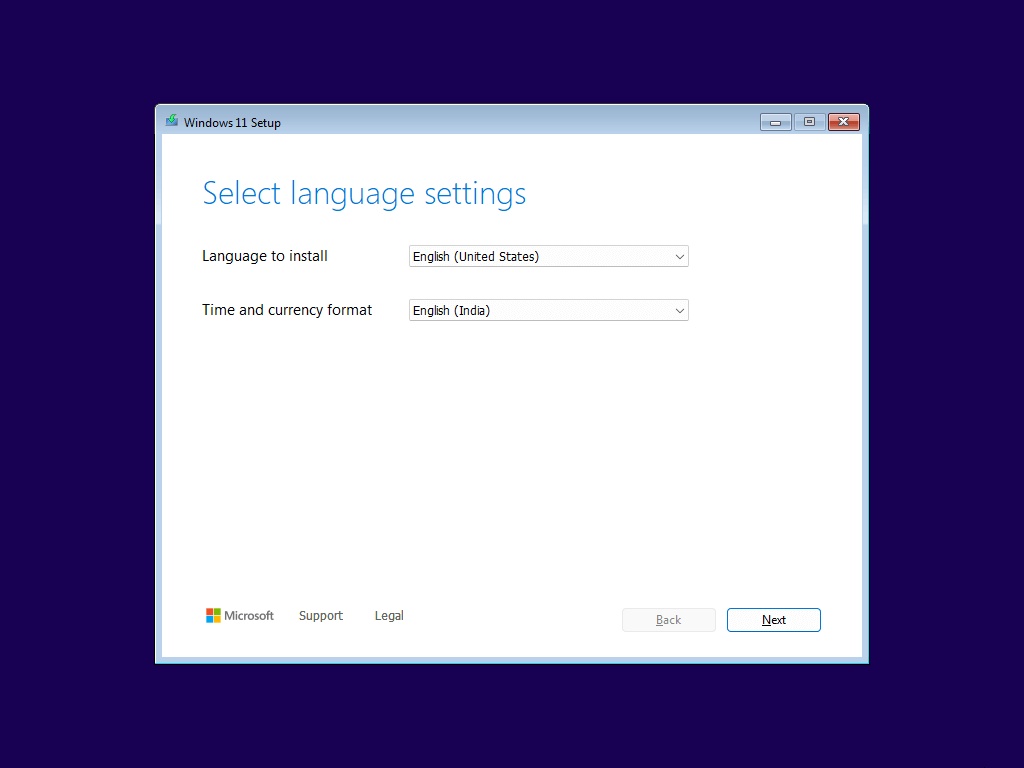
1) The OS language is automatically chosen based on your ISO language. Select the time and currency format, and click Next.
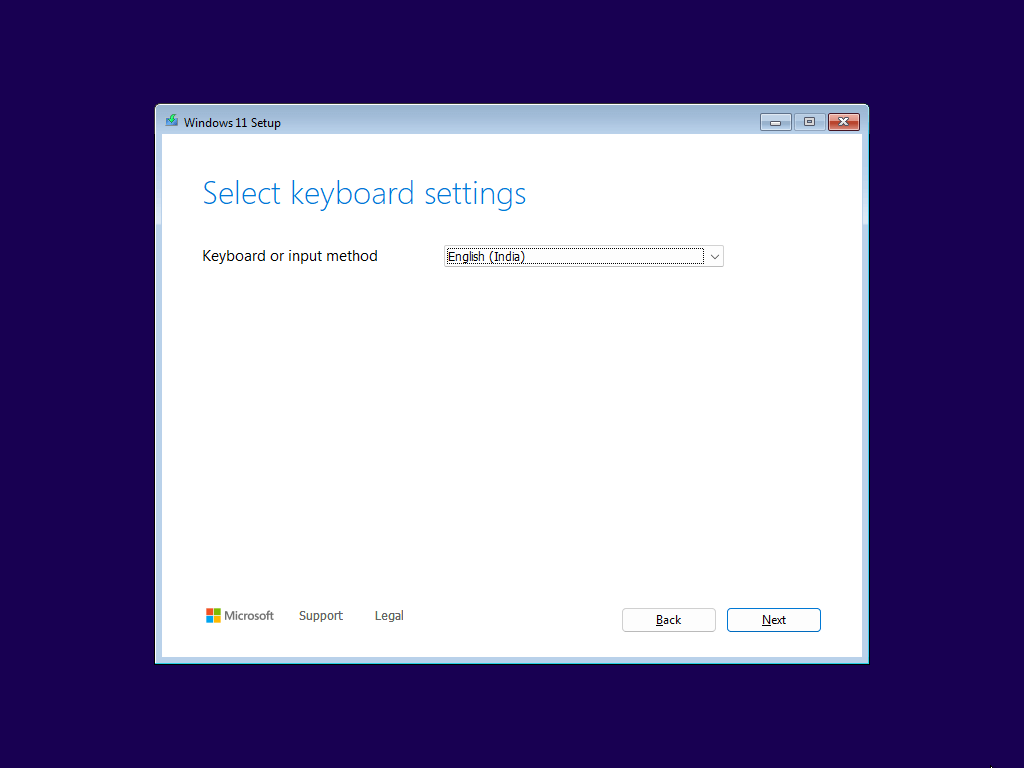
2) Select the keyboard or input language, and click Next.
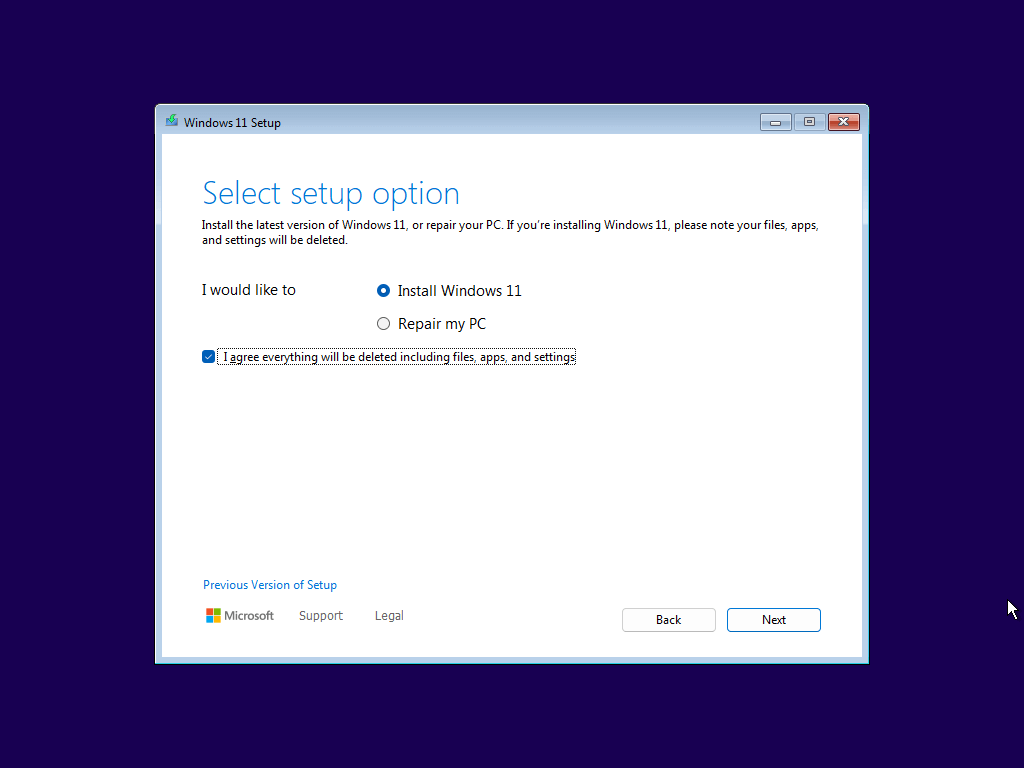
3) On the “Select setup option” screen, select “Install Windows 11.
Note: Selecting “Repair my PC” will take you to the recovery options.
4) Select “I agree everything will be deleted including files, apps, and settings”, and click Next.
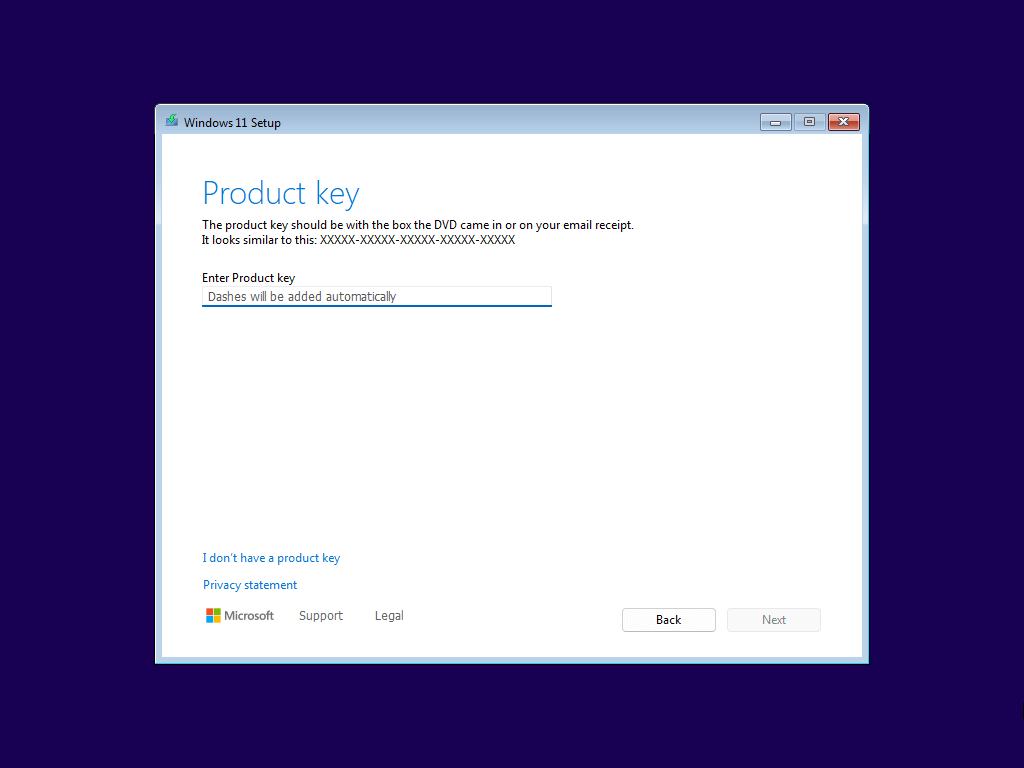
5) If the product key is embedded in the UEFI, the setup uses it automatically. If not, type the product key manually. You can also click “I don’t have a product key” to activate Windows later.
6) Click Next.
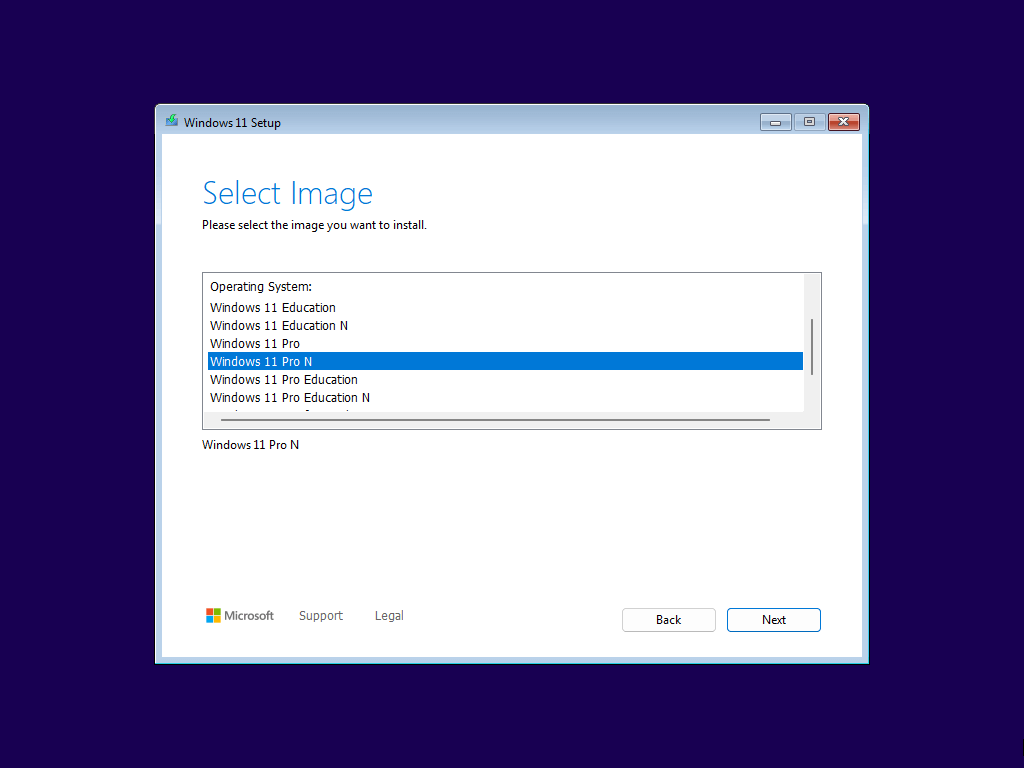
7) If the product key is embedded in the UEFI or you inputted the product key in the previous step, the OS edition selection (“Select image”) screen doesn’t appear. If not, you need to select the required edition, and click Next.
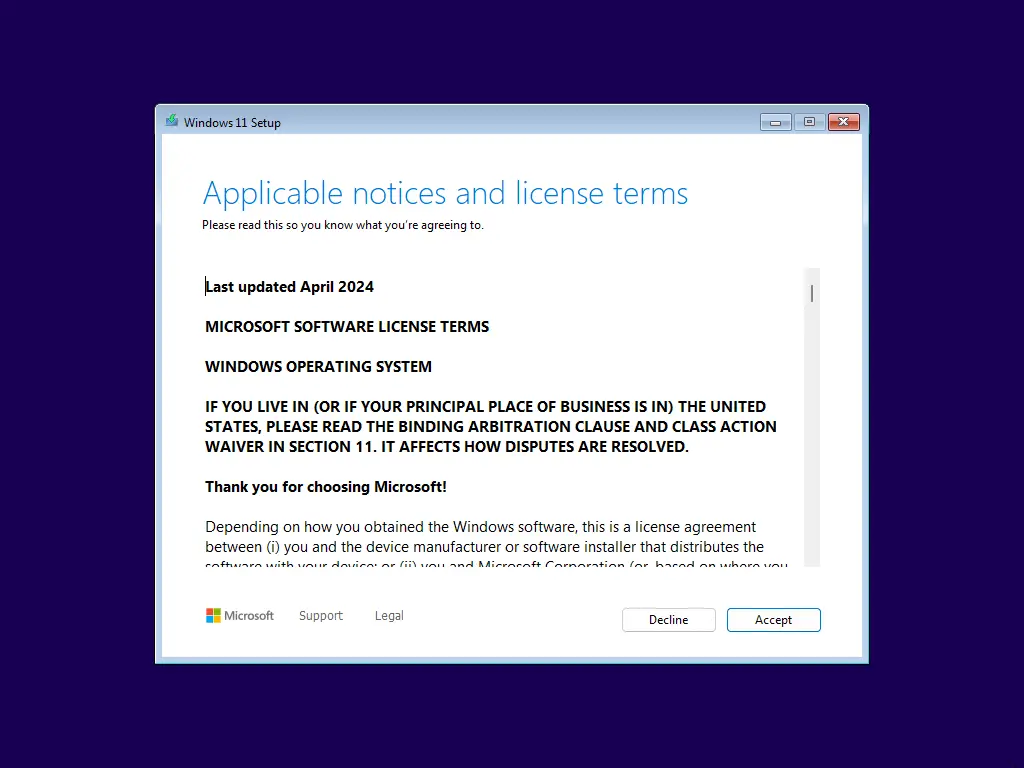
8) Read and accept the license terms by clicking Accept.
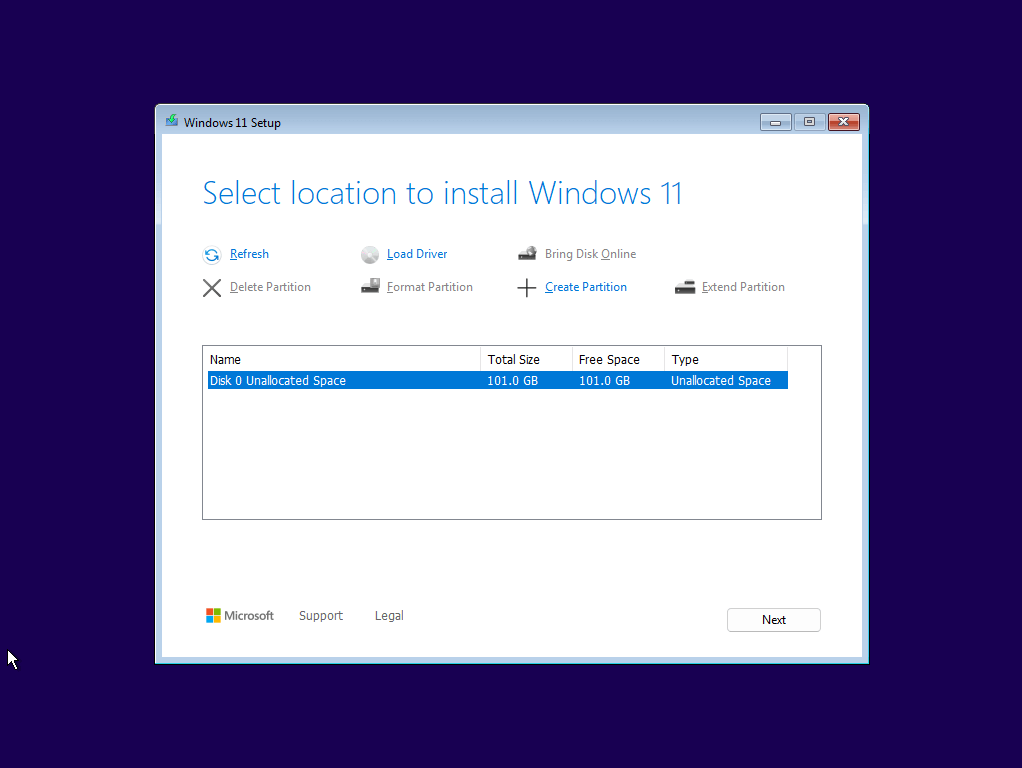
9) If you’re installing Windows 11 on a new hard drive, no partitions will be listed in the “Select location to install Windows 11” screen. Simply choose the unallocated space and choose Next.
Note: If you’re clean installing on a system which already has a Windows installation, you may have an EFI, MSR, OS, and a Recovery partition on the OS drive. If you have existing partitions or additional hard drives, choose the correct partition where Windows 11 has to be installed. Or you can delete the partitions on the disk you’re installing Windows 11 on. Be sure you have appropriate backups before deleting the partitions.
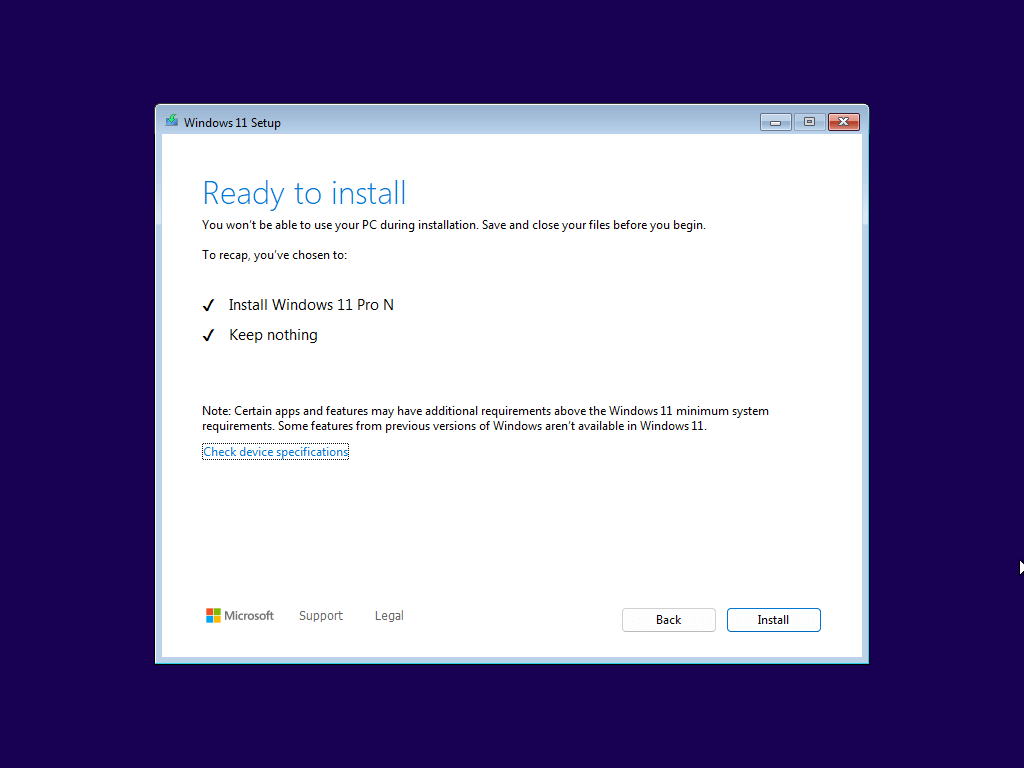
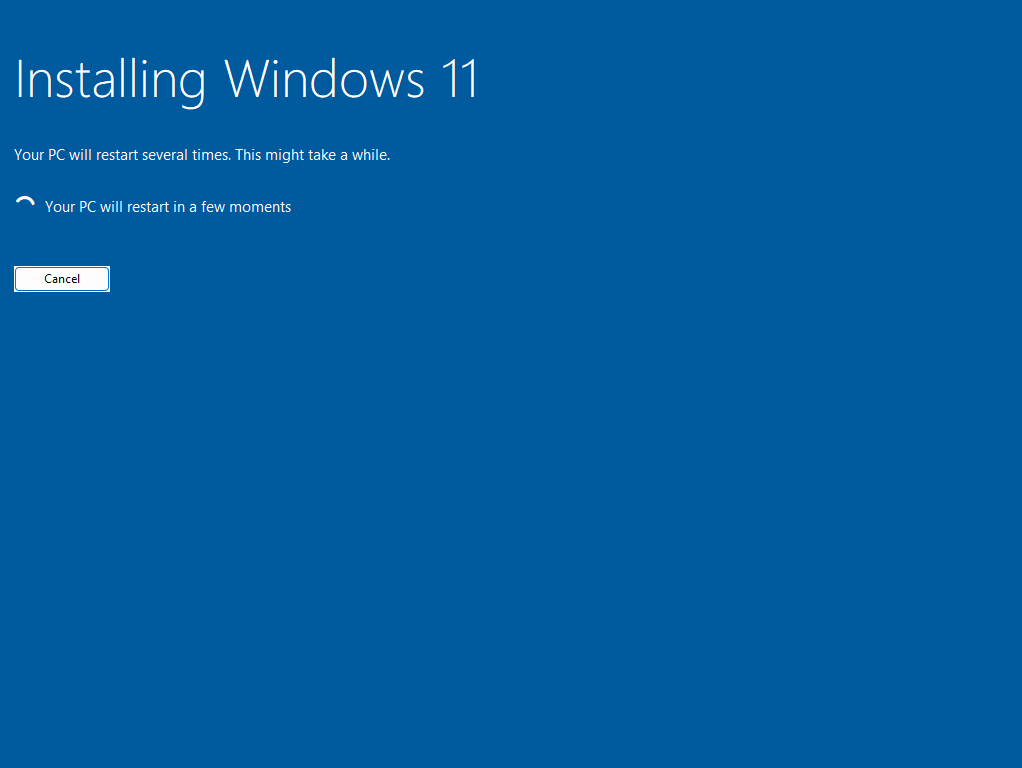
10) On the “Ready to install” screen, click Install.
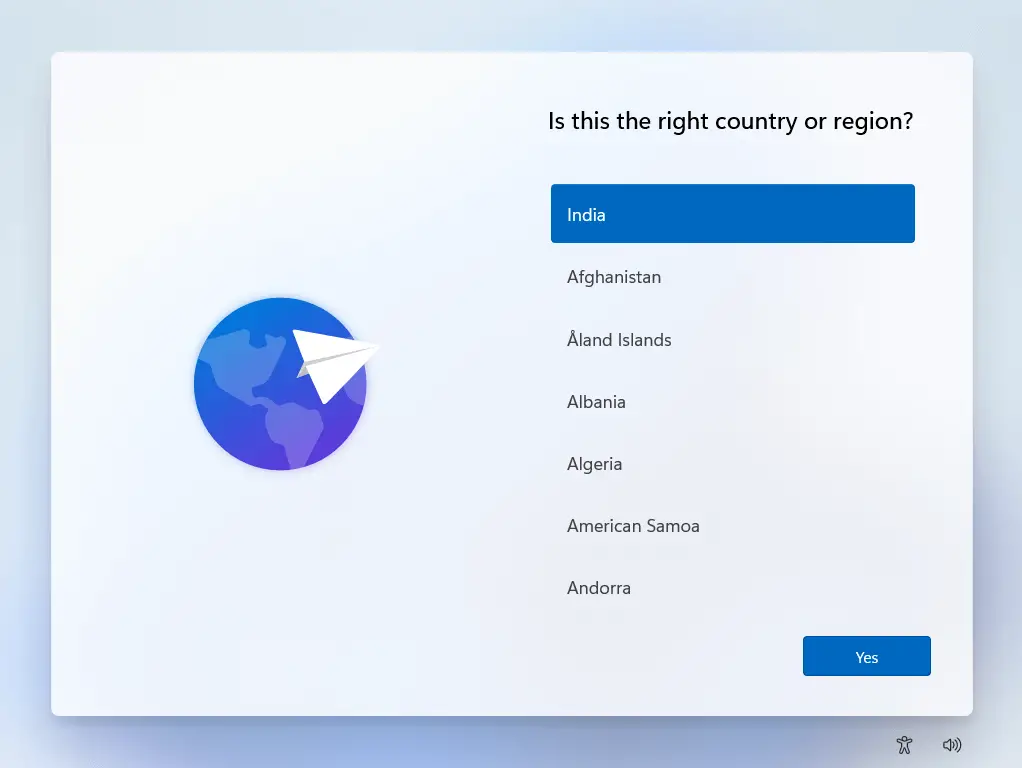
11) Select the country, and click Yes.
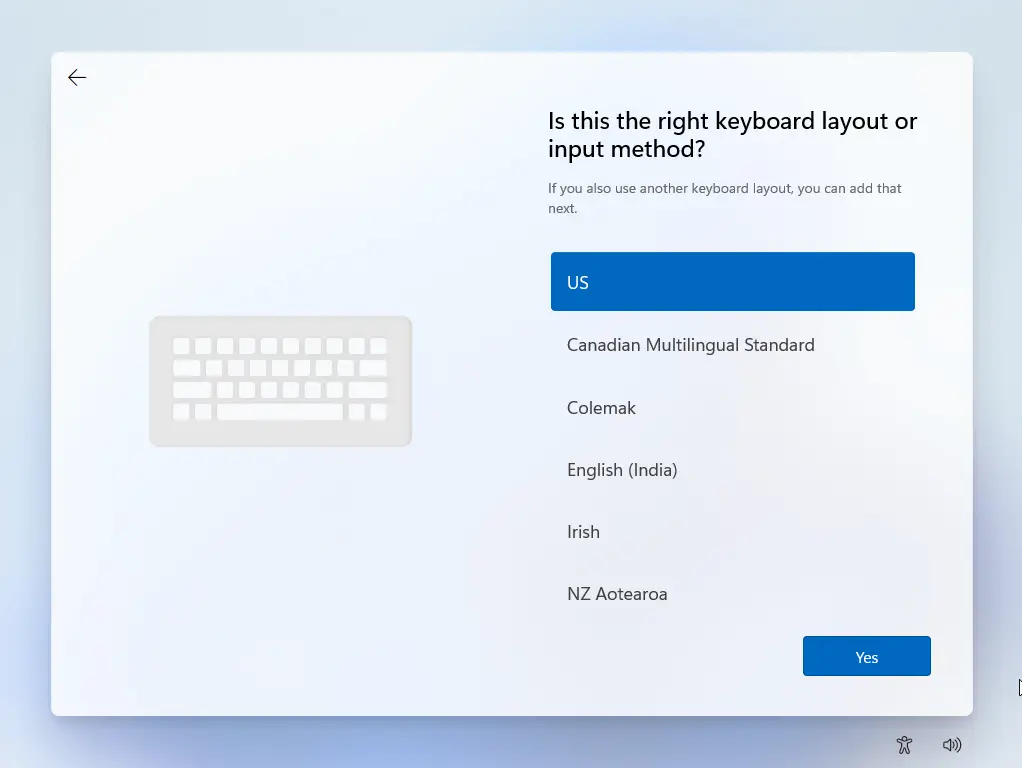
12) Choose the keyboard layout and click Yes.
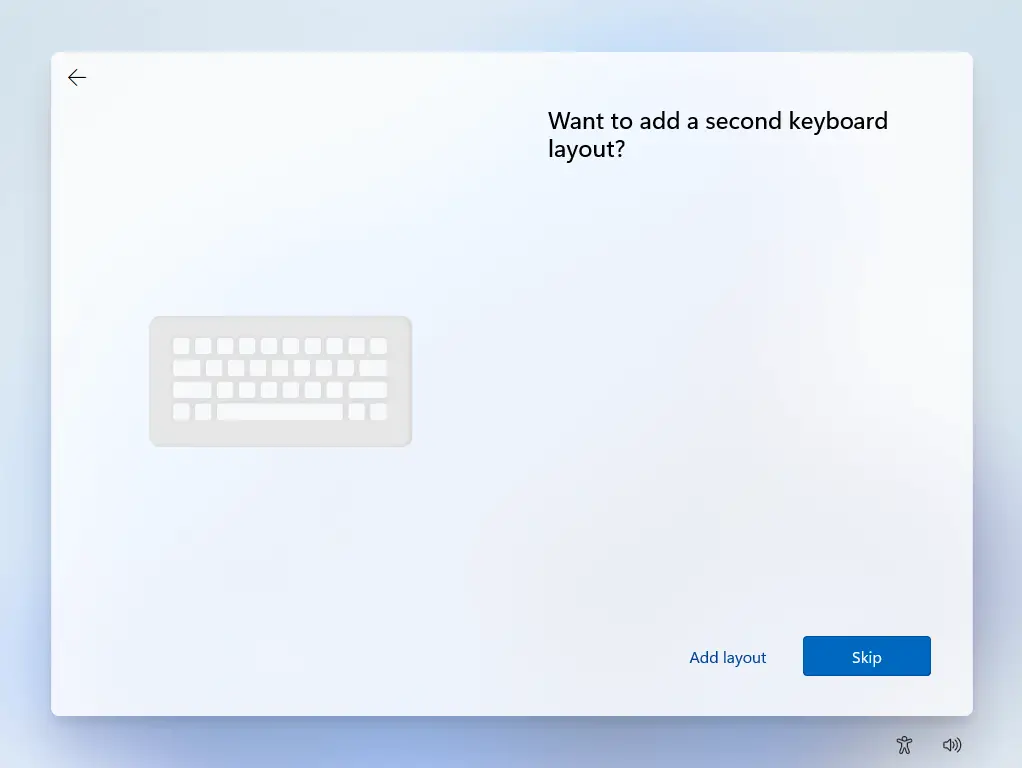
13) If you wish to add a second keyboard layout, you can do so on this screen. If not, you can click Skip.
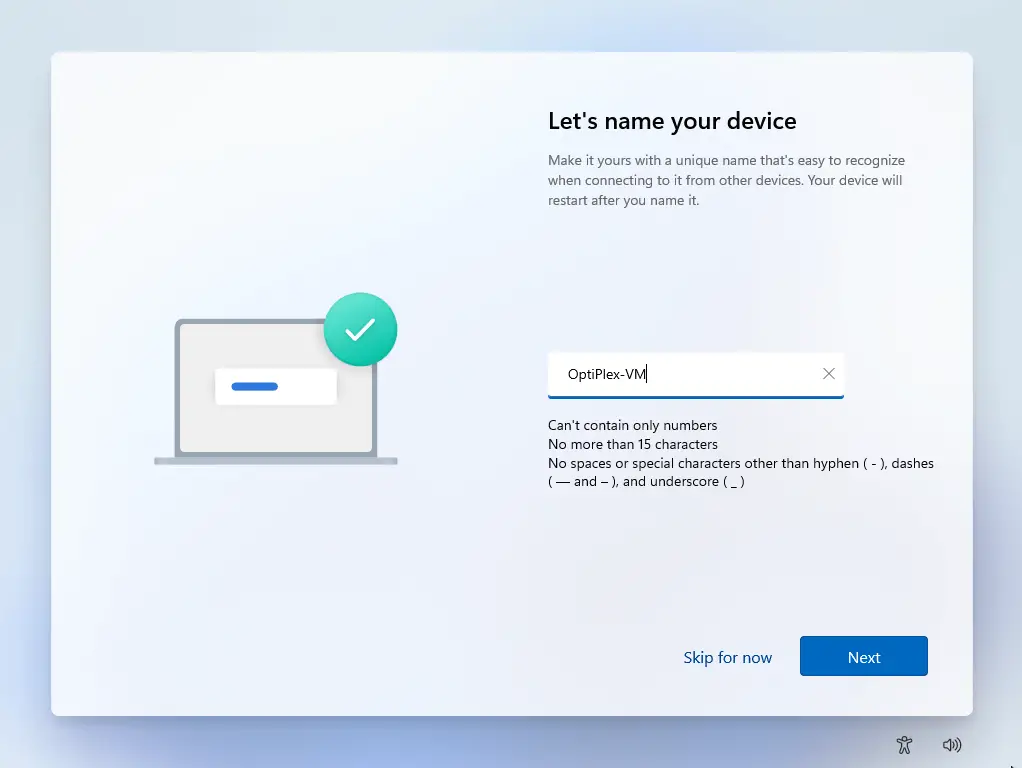
14) Assign a name for your computer, and click Next.
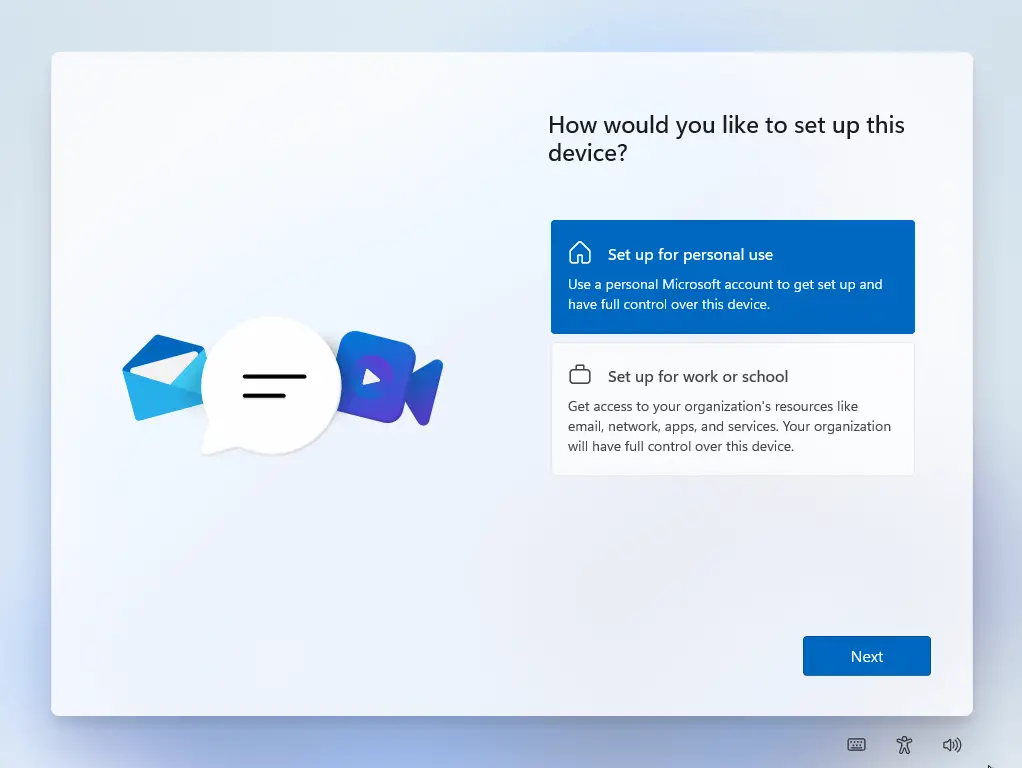
15) Select “Set up for personal use” or “Set up for work or school” depending on your needs. For home PCs, select “Set up for personal use” and click Next.
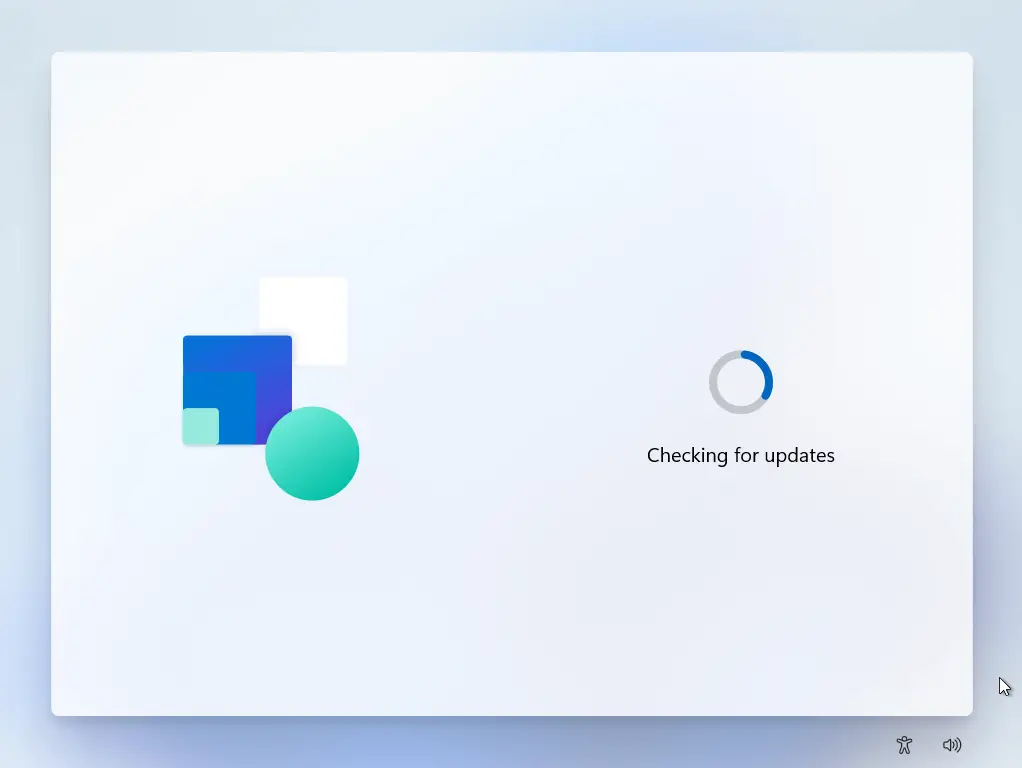
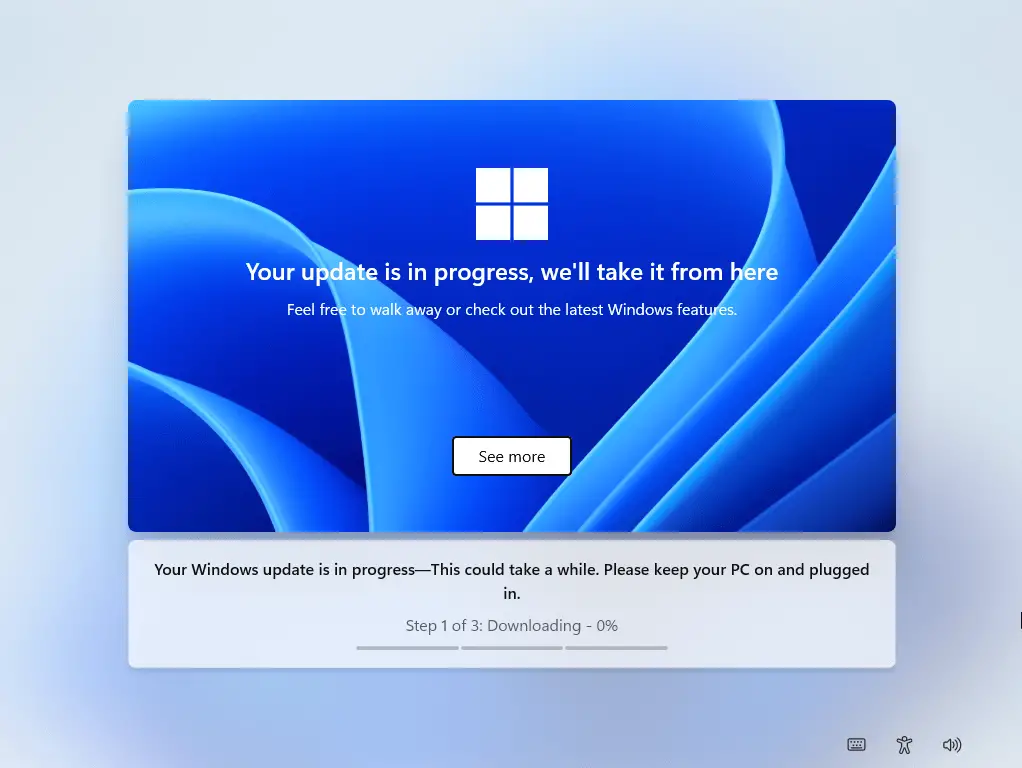
The setup will dynamically install Windows updates and patch your system fully.

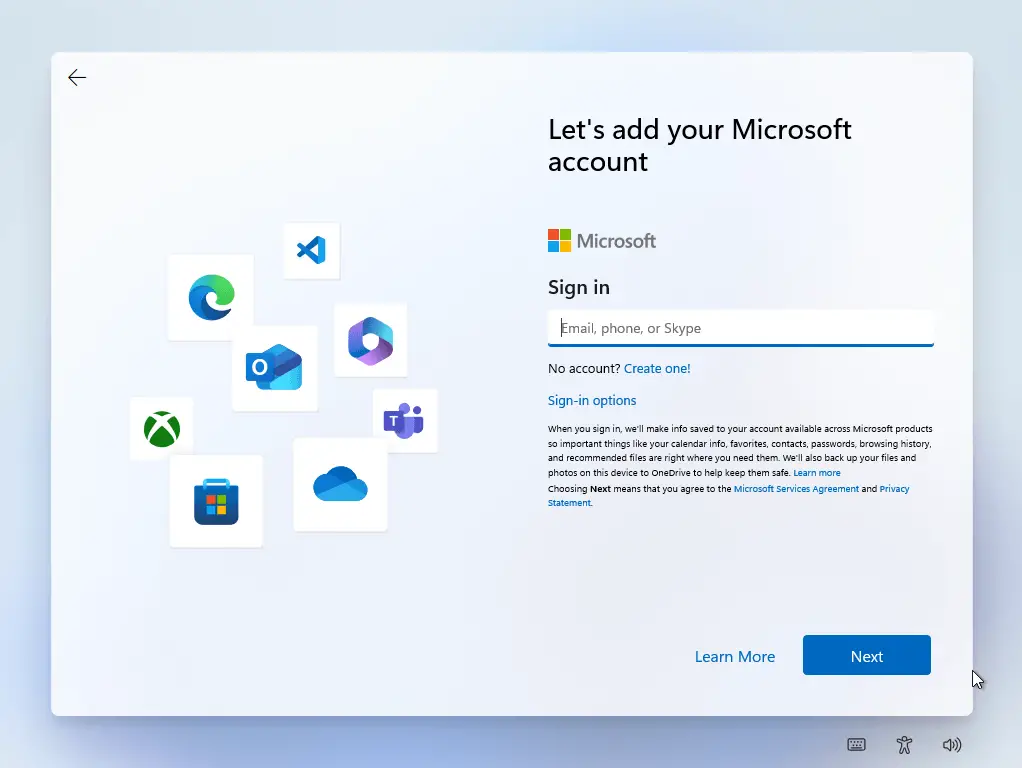
16) Click Sign in.
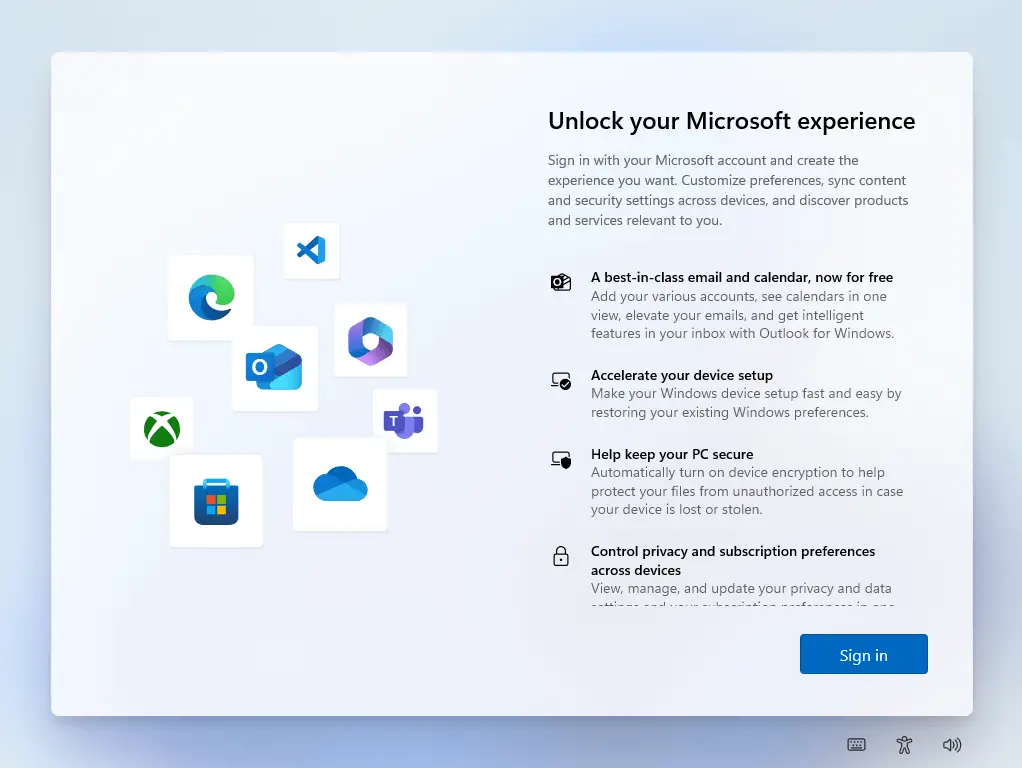
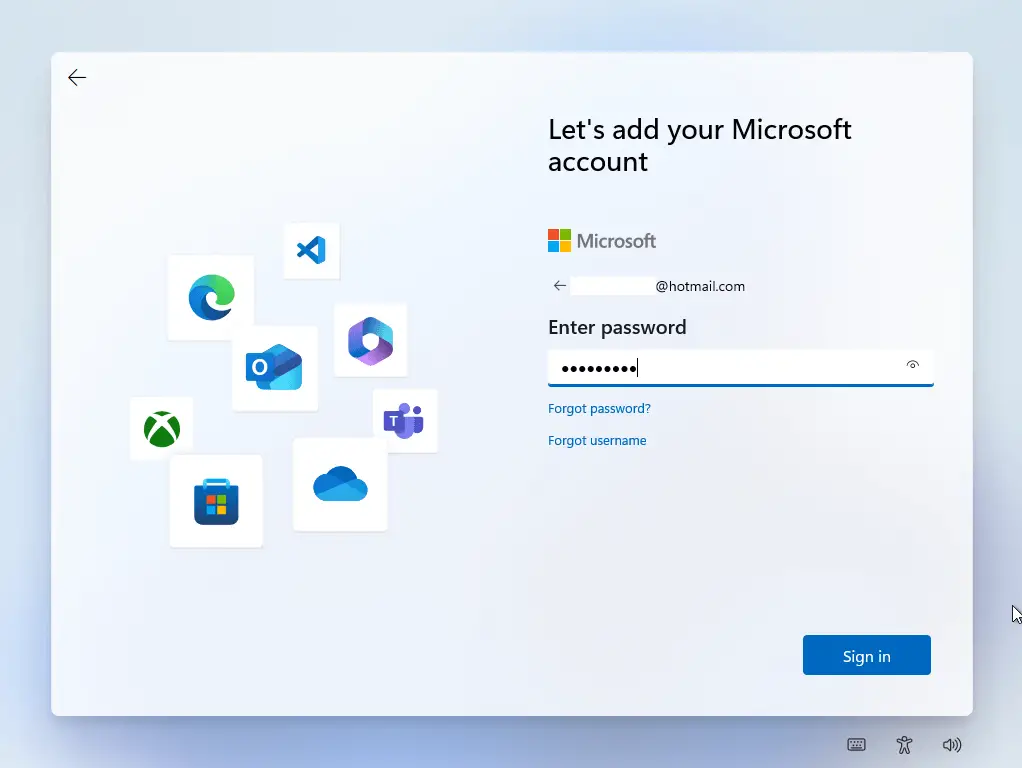
17) If you have an existing Microsoft account (MSA), you can use the credentials on this page. If not, click “Create one” to create a new MSA ID. Click Next.
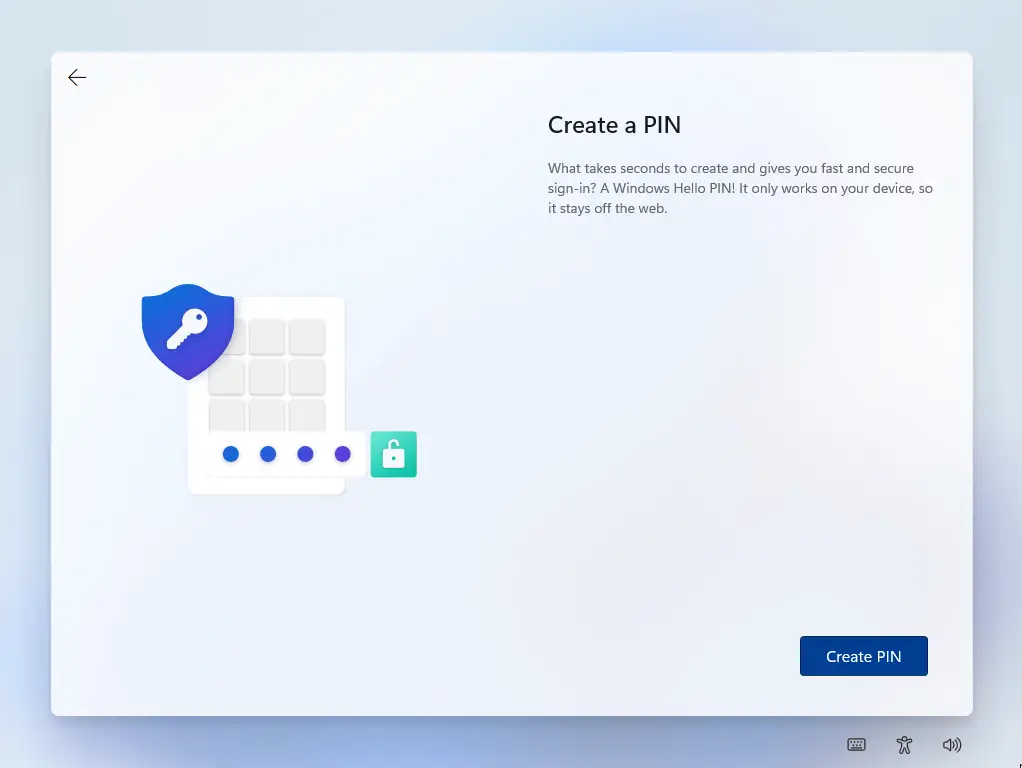
18) Click Create PIN.
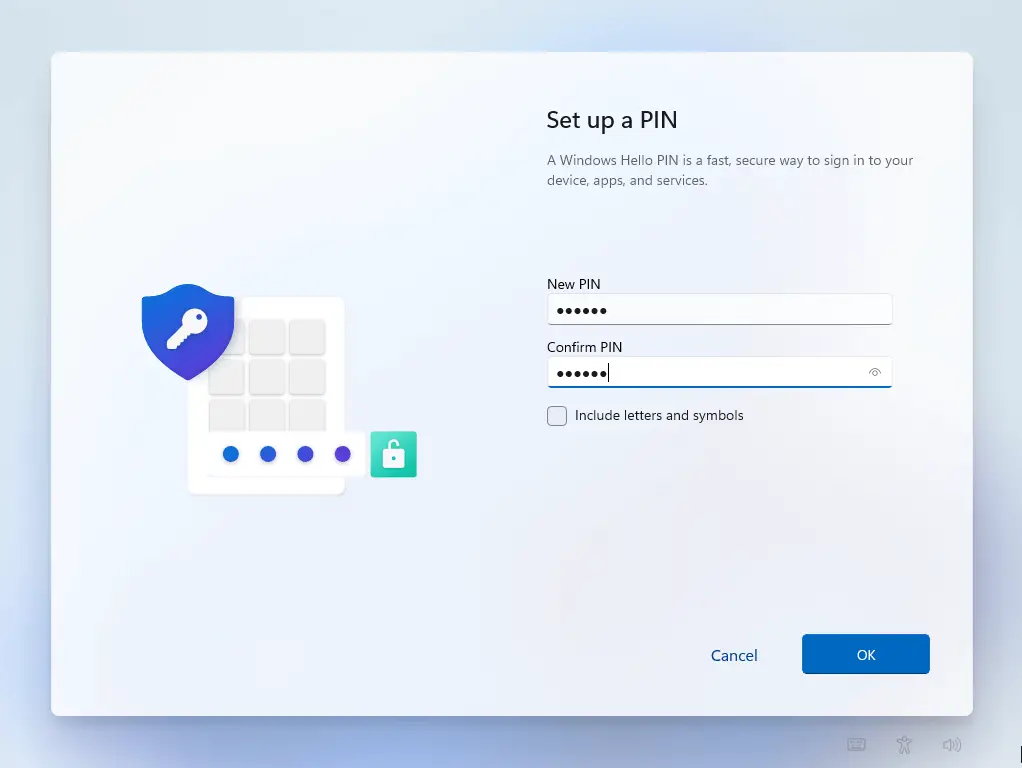
19) Type the PIN in the New PIN and Confirm PIN text boxes, and click OK. Windows 11 enables mandatory Windows Hello/PIN sign in at this point.
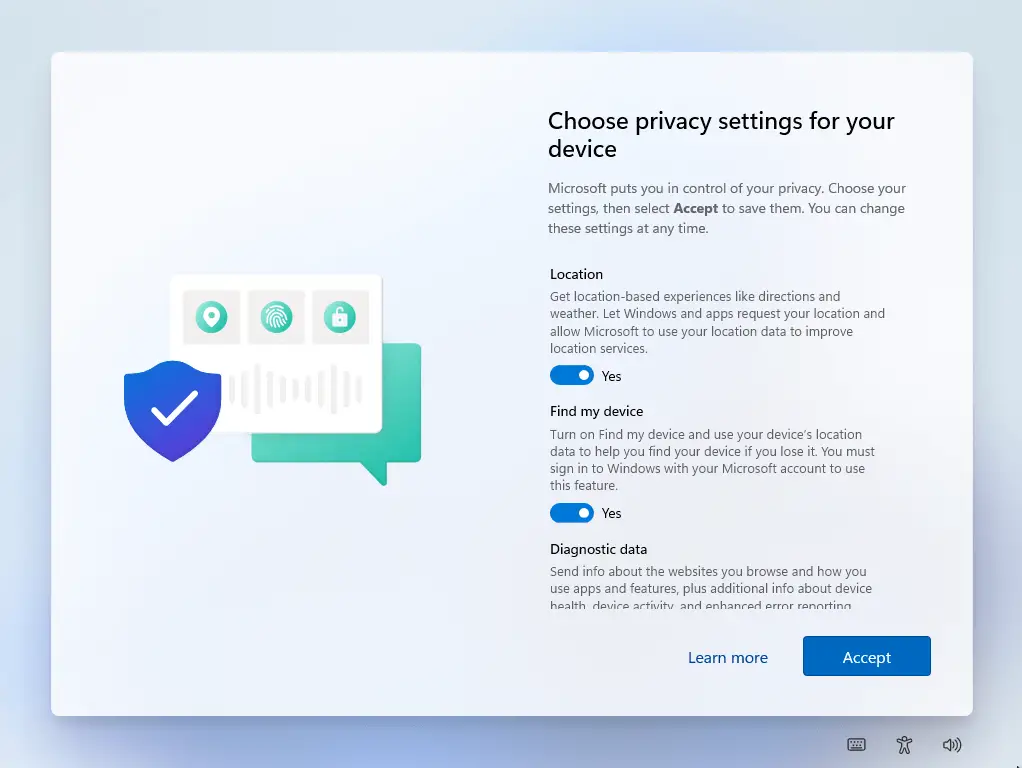
20) Configure the privacy settings for your device, and click Accept. In most cases, the default settings will be fine.
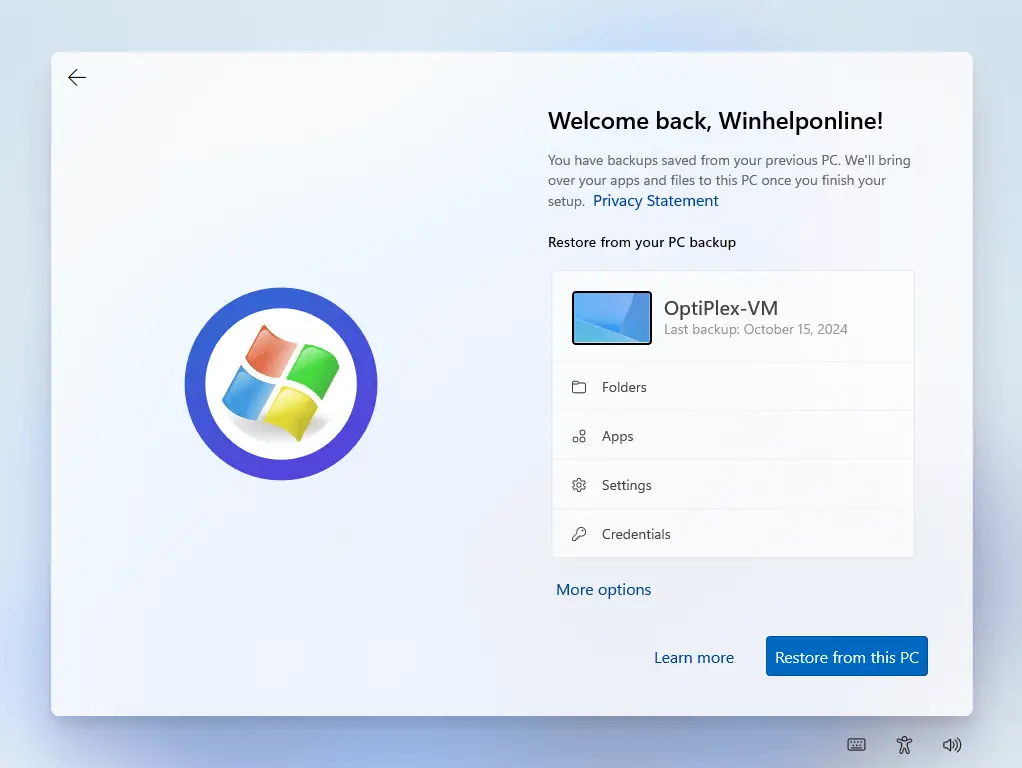
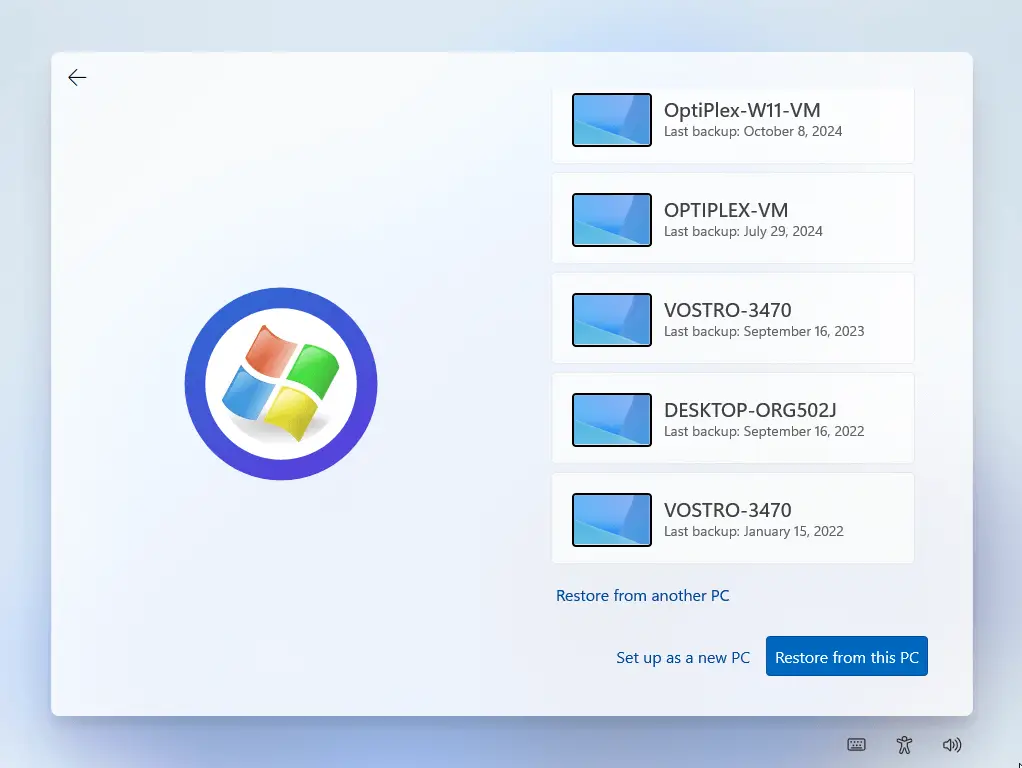
21) On the “Restore from your PC backup” screen, you can restore the previous backup (from OneDrive) stored on your Microsoft account. To do so, pick the backup set you want and click “Restore from this PC.”
To skip this procedure, choose “Setup as a new PC“.
If “Setup as a new PC” is unavailable, click “More options” and then click “Setup as a new PC”
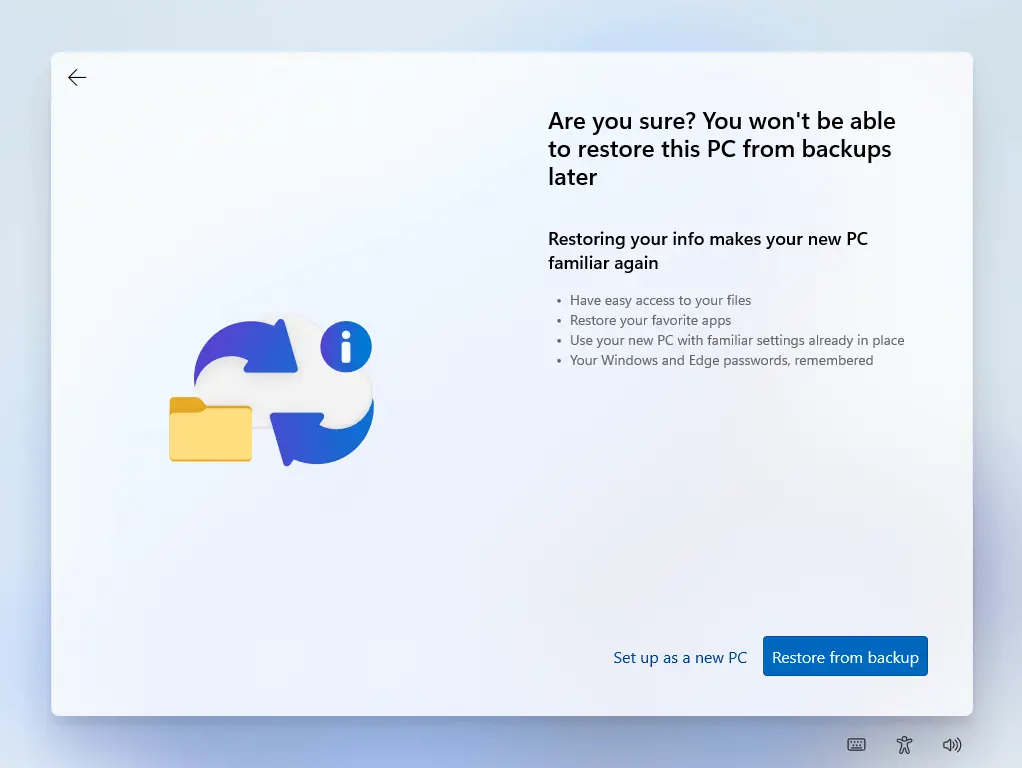
22) Click “Setup as a new PC” when asked for confirmation.
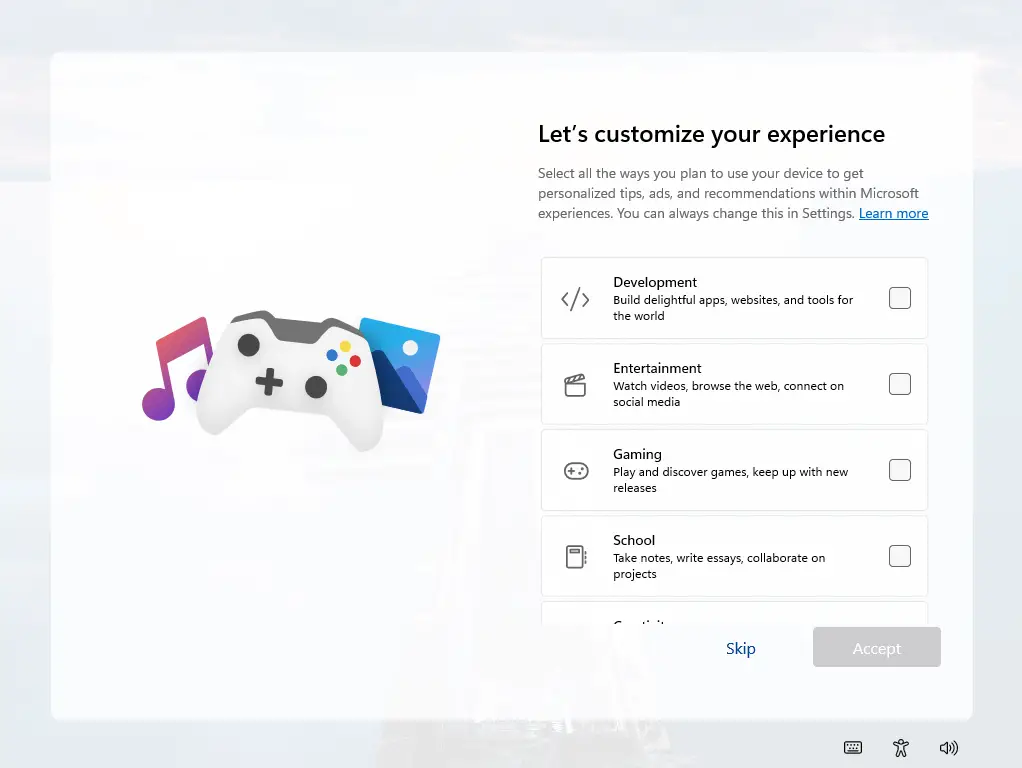
23) Configure the “Let’s customize your experience” screen. It’s optional, and you can press Skip if you want.
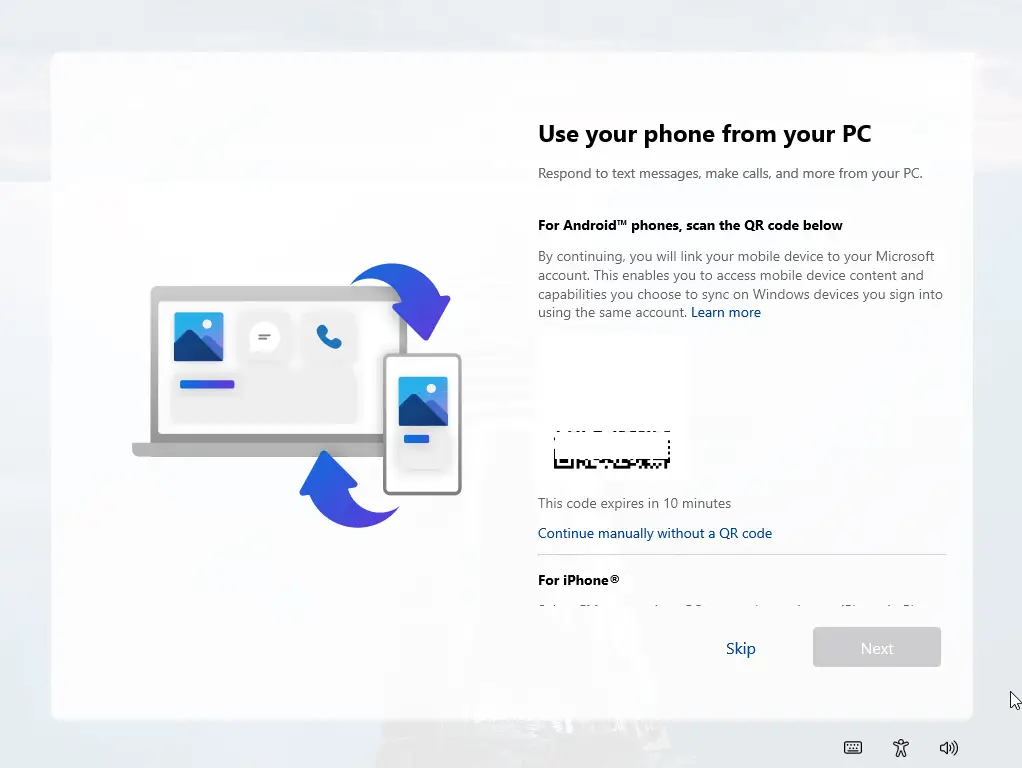
24) On the “Use your phone from your PC” screen, you can choose to link your Android or iPhone with the PC using the PhoneLink app. Or, press Skip.
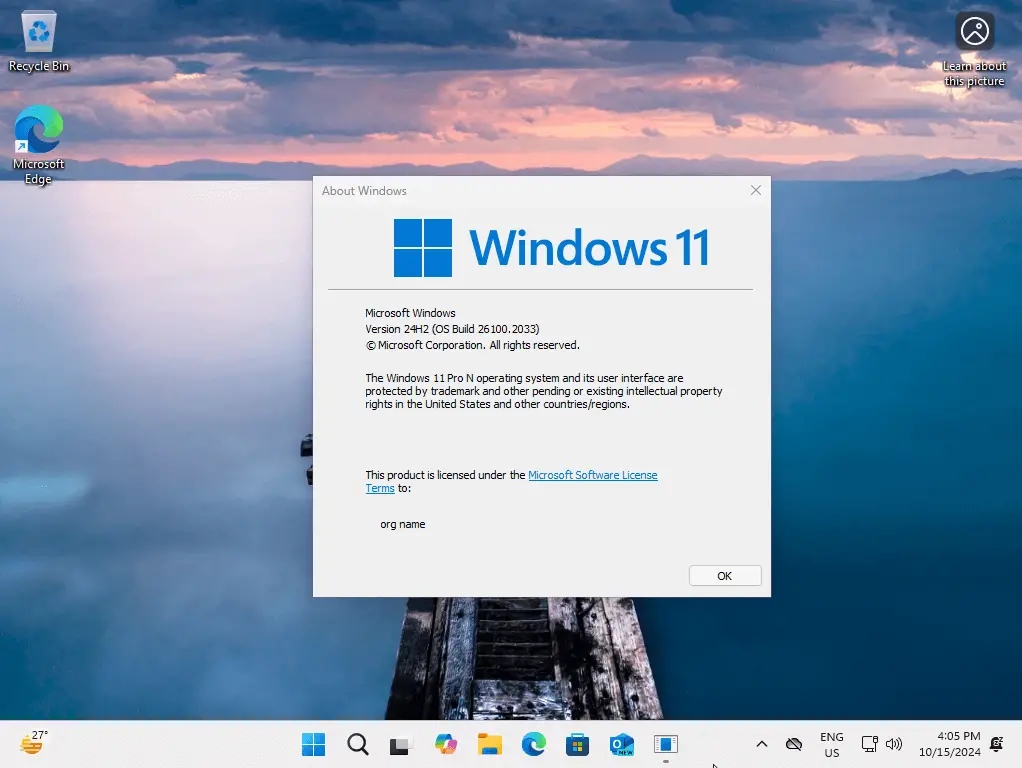
That’s it. The setup is complete and your user profile has been loaded.

That’s it. If you need clarification on the above walkthrough, ask in the comments section below.
Related Posts
How to Go Back to Windows 11 23H2 from 24H2
This PC can’t be upgraded to this version of Windows (24H2 Setup)
One small request: If you liked this post, please share this?
One "tiny" share from you would seriously help a lot with the growth of this blog. Some great suggestions:- Pin it!
- Share it to your favorite blog + Facebook, Reddit
- Tweet it!