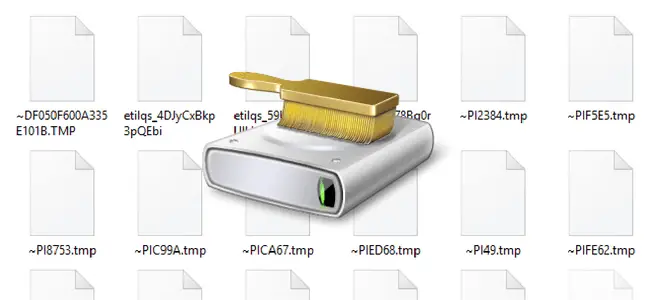
The TEMP directory (%temp%) gets bloated over time as applications store data over there and don’t always remove the files and folders they created. And, software installers extract the contents of the setup packages to the %temp% folder and fail to do the cleanup act when the installation is complete.
“Low disk space” problem is a thing of the past — or the issue seldom occurs nowadays as systems come with high-capacity hard drives which became dirt cheap. But, you may still want to tidy up the Temp folder and keep the system in top shape.
Temporary files cleanup is one of the tasks which Windows performs silently in the background, as a part of automatic maintenance or system maintenance which uses the Task Scheduler. Automatic maintenance uses Disk Cleanup (cleanmgr.exe) with the undocumented /autoclean parameter. The built-in maintenance tasks trigger if the system is left idle for about 5 minutes or so, and stops running as soon as Windows senses user activity.
To clear the %temp% files instantly without waiting for the automatic or system maintenance OS task to fire, you can use one of these methods.
Methods to cleanup temp files automatically
Automate temporary files removal using Disk Cleanup
The native Disk Cleanup (cleanmgr.exe) utility supports automation since the early versions of Windows, at least from Windows XP, and up until Windows 10. You can use the “sageset” and “sagerun” commands with a unique number to configure and run the cleanup automatically.
- /d driveletter: – This option specifies the drive that you want Disk Cleanup to clean.
- /sageset: n – This option displays the Disk Cleanup Settings dialog box and also creates a registry key to store the settings that you select. The n value, which is stored in the registry, allows you to specify tasks for Disk Cleanup to run. The n value can be any integer value from 0 to 65535. To have all of the options available when you use the /sageset option, you might need to specify the drive where Windows is installed.
- /sagerun: n – This option runs the specified tasks that are assigned to the n value if you use the \sageset option. All drives on the computer are enumerated and the selected profile runs against each drive.
For example, you can use /sageset:1000 for cleaning %temp% files, /sageset:1001 for other items such as “Thumbnails” cache, and so forth. Also, you can select multiple cleanup options for a single sageset # configuration.
Configuring Disk Cleanup for Temp Files Cleanup
Open an elevated or Admin Command Prompt and run the following command:
cleanmgr /d c: /sageset:1000

This opens Disk Cleanup, showing you an overwhelming list of cleanup options or handlers to choose.
- Temporary Setup Files
- Old Chkdsk files
- Setup Log Files
- Windows Update Cleanup
- Windows Defender
- Windows upgrade log files
- Downloaded Program Files
- Temporary Internet Files
- System error memory dump files
- System error minidump files
- Files discarded by Windows upgrade
- Per user archived Windows Error Reporting Files
- Per user queued Windows Error Reporting Files
- System archived Windows Error Reporting Files
- System queued Windows Error Reporting Files
- System created temporary Windows Error Reporting Files
- Windows ESD installation files
- BranchCache
- Previous Windows installation(s)
- Recycle bin
- RetailDemo Offline Content
- Update package Backup Files
- Temporary Files
- Temporary Windows installation files
- Thumbnails
- User file history
Some of the cleanup options may not exist in your system depending upon the Operating System you’re using.
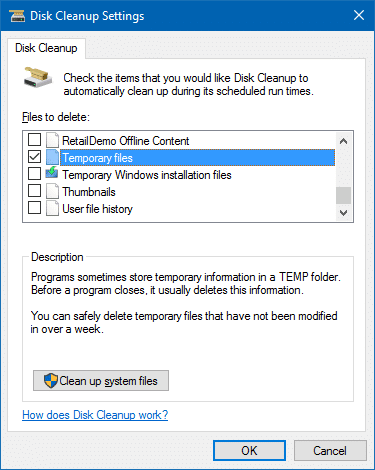
“Downloaded Program Files” and “Temporary Internet Files” options may be checked by default. Uncheck them, enable “Temporary Files” checkbox and click OK.
You need to run the “/sageset” only for the first time. The configuration (for 1000) gets saved in the registry, and is used when you run Disk Cleanup cleanup using the “/sagerun” command. You can create as many configuration settings with different numbers, as you’d like.
Running Temporary Files cleanup
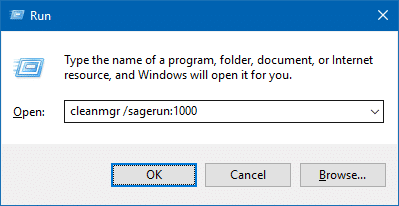
To run the cleanup, use this command from the Run dialog (WinKey + R):
cleanmgr /sagerun:1000
You don’t require the /d parameter when using /sagerun.
Create a shortcut for the above command, and place it in the Startup folder.
Press WinKey + R, type the following command and press ENTER:
shell:startup
That opens the Startup folder of your profile. Place the Disk Cleanup shortcut into the Startup folder. %temp% files cleanup will occur at every login.

Note: By default, Cleanmgr.exe won’t delete temp files which have been accessed in the last 7 days. However, you can change its behavior by customizing the LastAccess registry value. For more information, check out article Why doesn’t Disk Cleanup Wipe Out the Temp Folder Contents Completely?
Automatically clear Temp files and Recycle bin using Windows 10 Storage sense
Windows 10’s Storage Settings has an option to automatically clear the temporary files and Recycle Bin files that are older than “x” days.
Click Start, Settings, click System, and select Storage. Enable the toggle button under Storage
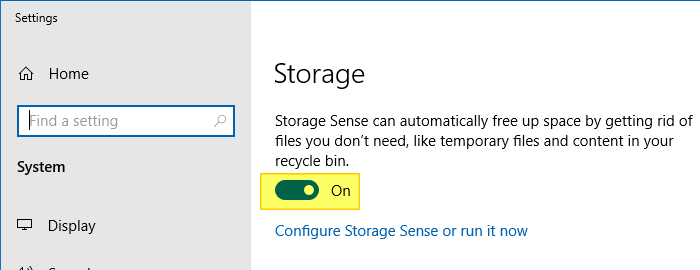
Click Configure Storage Sense or run it now. This opens another screen where you can choose what’s cleared up automatically – Temporary files or Recycle Bin — or both.
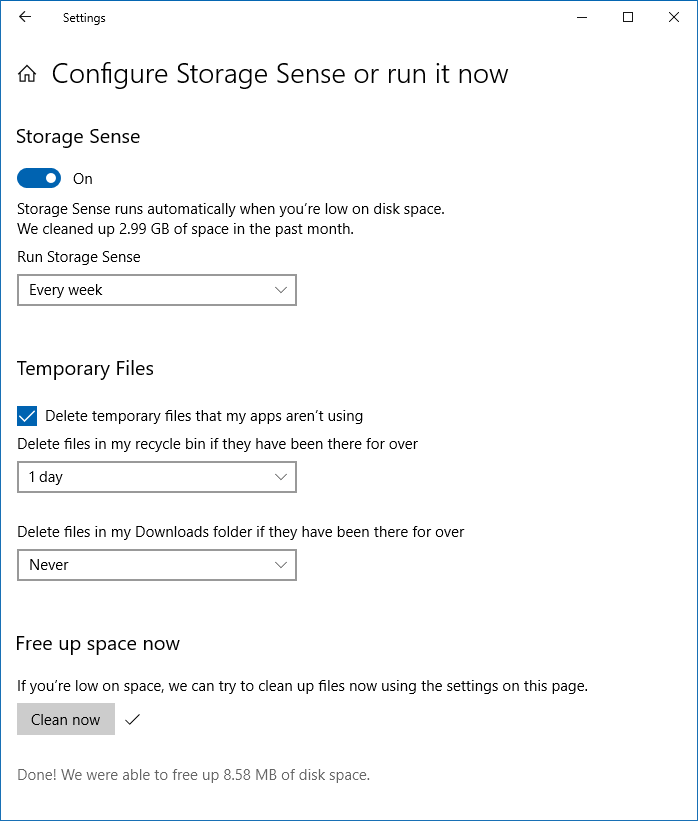
You can enable or disable the following settings in that page:
Delete temporary files that my apps aren't using.
Delete files in my recycle bin if they have been there for over "x" days
Delete files in my Downloads folder if they have been there for over "x" days
You can also clean up files on demand (using the above settings) by clicking the Clean now.
Remove temporary files using a Batch file
You can make a Batch file to wipe out the contents of the Temp folder completely including the subfolders.
Open Notepad and copy the following contents into it:
del "%temp%\*.*" /s /q
FOR /d %%p IN ("%temp%\*.*") DO rd "%%p" /s /q
Save the file with the .bat extension. Double-click to run the Batch file. It doesn’t remove the Temp folder itself as it’s not recommended to do so.
RELATED: How to Delete Files Older than N Days Automatically in Windows
Editor’s note: Using Disk Cleanup is the safest and preferred option, as it leaves untouched the recently accessed files. Also, it allows the user to configure the “last access” setting, albeit only using the registry. But if you prefer the Batch file method (which I don’t recommend for routine use) for some reason, make sure you save your open files and close all your running programs before running the file.
One small request: If you liked this post, please share this?
One "tiny" share from you would seriously help a lot with the growth of this blog. Some great suggestions:- Pin it!
- Share it to your favorite blog + Facebook, Reddit
- Tweet it!