The native Backup and Restore tool in Windows 10 and 11, also known as “Windows 7 Backup and Restore Tool,” lets you backup your files and create a system image of your current Windows installation. You can access the tool from the classic Control Panel.
The system image backup is stored in a folder named WindowsImageBackup in the root directory of the specified partition or external drive.

You can restore the system image if Windows fails to boot and you’re unable to fix the issue. To restore the system image from an earlier backup, you need to boot into the Windows Recovery Environment (Windows RE.)
Note: The WindowsImageBackup folder has the following directory structure, and it’s essential to maintain the same structure for a successful restoration.
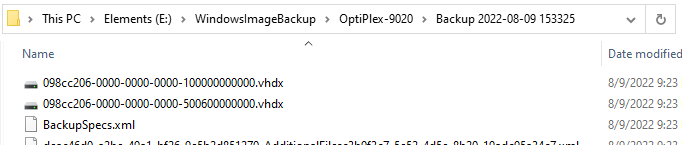
E:.
├───OptiPlex-9020
│ ├───Backup 2022-08-09 153325
│ ├───Catalog
│ ├───Logs
│ └───SPPMetadataCache
OptiPlex-9020 is the computer name in the above example.
Also, do not move the WindowsImageBackup folder to a subfolder. Or else the System image recovery tool won’t be able to find the image.
(Before proceeding, I highly recommend taking a complete system image backup of the current Windows installation using a reliable tool like Macrium Reflect Free edition, Acronis True Image, or any other professional backup tool.)
Restore System Image Backup in Windows
To restore the system image backup using Windows RE in Windows 10 or 11, follow these steps:
Press the Shift key while you select the Power button, and click Restart. Your PC will restart in the Windows Recovery Environment (WinRE).
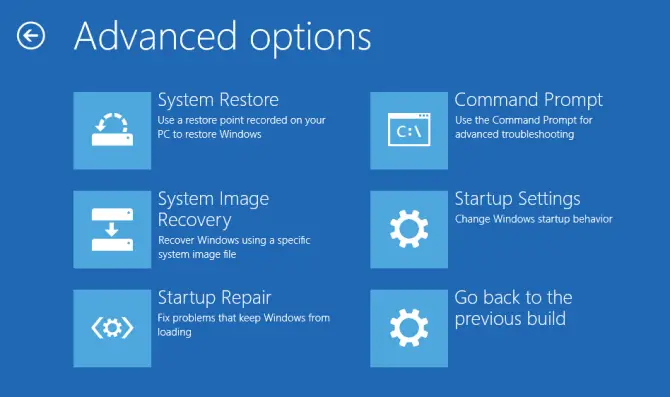
On the Windows RE page, click Troubleshoot → Advanced options → System Image Recovery.
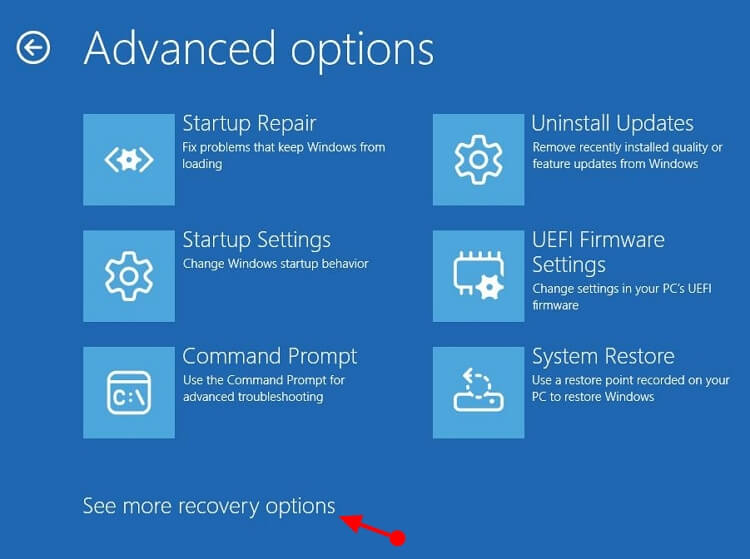
On some OEM PCs, you need to use the following options instead:
- Troubleshoot → Advanced options → See more recovery options → System Image Recovery.
Windows RE will automatically scan for the”WindowsImageBackup“folder in each partition and list your backups. If your backups are stored on an external drive, attach the external hard drive now. The rest of the procedure is simple. All you need to do is follow the on-screen instructions and finish the process. The screenshots below are from a Windows 11 21H2 computer.
The System Image Backup tool will recommend the latest available system image.
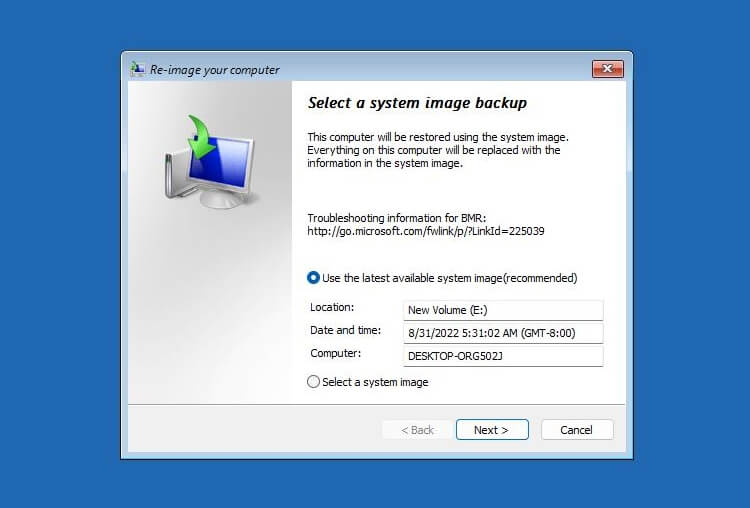
If you want to choose a different system image, click “Select a system image” and click Next. If more images are available, they will be shown on the resulting screen.

On the other hand, if none of your hard drive partitions contain a system image, you’ll see the following error:
Re-image Your Computer

Windows cannot find a system image on this computer.

Attach the backup hard disk or insert the final DVD from a backup set and click Retry. Alternatively, close this dialog for more options.
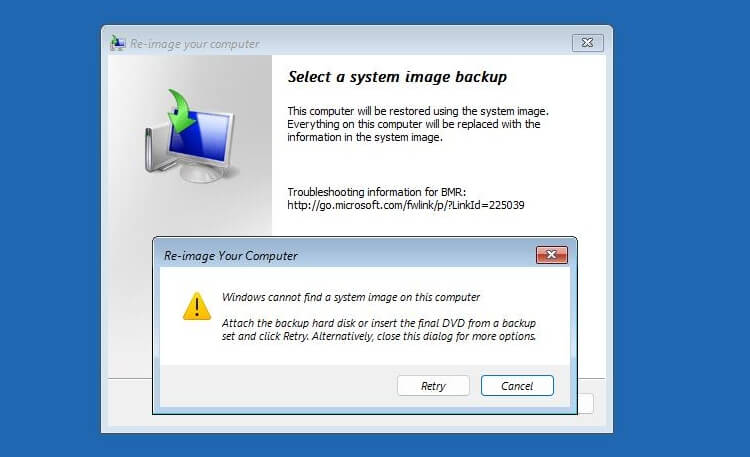
Side note: You might also see the above error if some files in the WindowsImageBackup folder are missing (e.g., MediaID or MediaID.bin), or the folder hierarchy has been changed, or the folder has been moved to a subfolder.
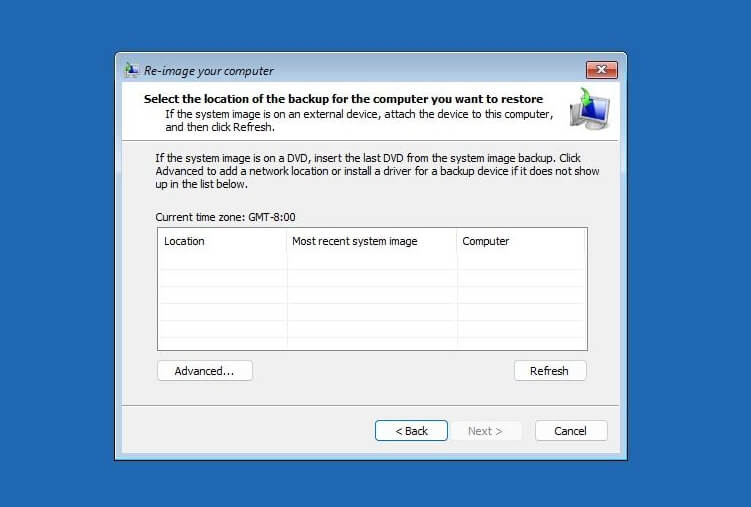
You can insert your external hard drive, the backup DVD, or choose a network location (UNC path); it must be an ethernet connection; Wi-Fi isn’t supported.
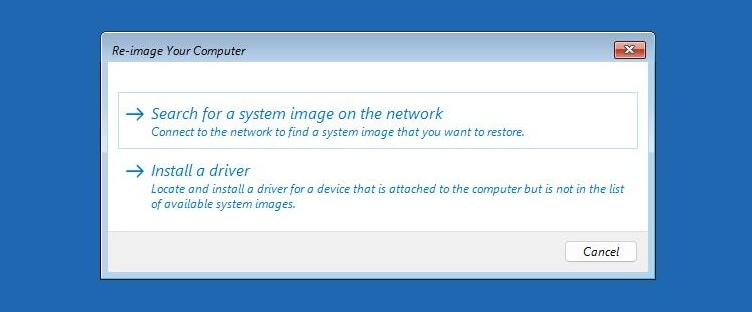
To select a network location that contains the system image, or install a driver for your backup device (if Windows RE doesn’t automatically detect it), click Advanced. In the resulting window, you can choose one of the options, “Search for a system image on the network” or “Install a driver”.
Windows RE lets you add the device drivers needed to access the external drive if your backup device is a legacy one and is not detected. As said earlier, you can also use a DVD or connect to a network share and access the system image backup files.
Once located and selected the system image for restoration, click Next.
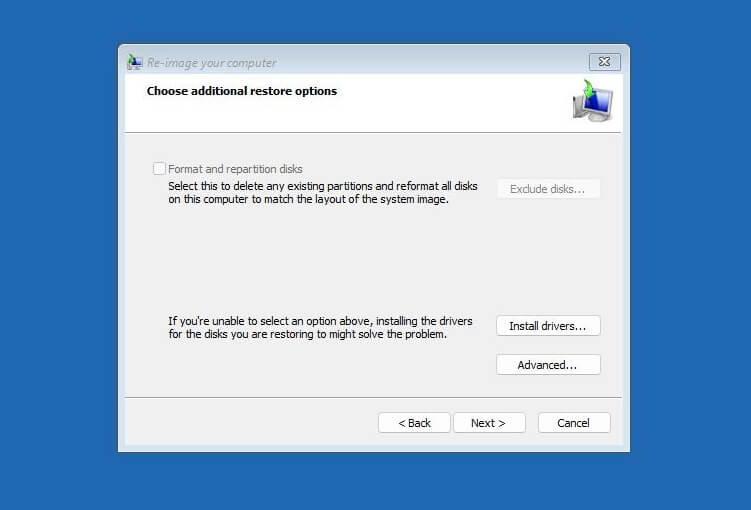
Editor’s note: On the above screen, the “Format and repartition disks” is unavailable or grayed out. The system image I’m using in this example is located in another partition in the same hard drive. That might be the reason why the option is grayed out. Also, as my system image backup included only the C:\ drive, Windows RE has safely dimmed that setting.
You can configure some options if necessary by clicking on the “Advanced” button. The options available are:
- Automatically restart this computer after the restore is complete. To make additional changes before restarting this computer, clear this check box.
- Automatically check and update disk error information. This might take several minutes to complete. To check disks and update error information manually, clear this check box.

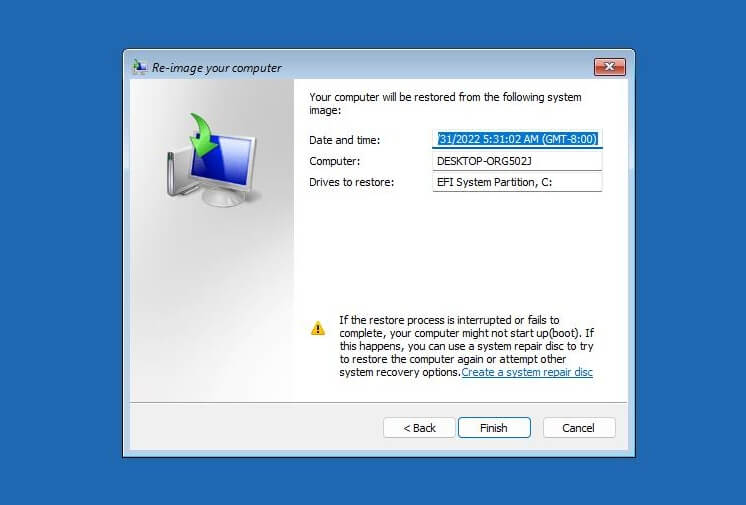
Click Next to see the final screen. Read the following instructions, and click “Finish.”
“If the restore process is interrupted or fails to complete, your computer might not start up (boot). If this happens, you can use a system repair disc to try to restore the computer again or attempt other system recovery options. Create a system repair disc.”
Editor’s note: The final warning is why I suggested taking a complete system image backup using Macrium Reflect Free Edition (or any other reputed program like Acronis) beforehand.
If your Windows RE doesn’t have the above options, it implies the Windows RE image (Winre.wim) is missing in the Recovery folder. In that case, you can do any one of the following:
- Restore the missing Winre.wim file and re-enter Windows RE.
- Boot Windows using the Windows 10/11 bootable USB Setup disk and access Windows RE.
- If you created a system repair disc the last time you made a system image backup, you could also use that disk; it contains the Windows RE boot image.
Additional Information
The System Image Backup and Restore tool doesn’t provide you the option to restore selected files from the backup image. However, you can manually mount the VHDX files in the Backup subfolder (e.g., \WindowsImageBackup\OptiPlex-9020\Backup 2022-08-09 153325) and extract individual files from the virtual hard disk image.
The native backup and restore tool is a barebones program that doesn’t have advanced features like scheduling (though there is an undocumented command-line argument that can be used for scheduling) and differential/incremental backups. And, if you face any difficulties using this tool, getting a proper solution from Microsoft is tough.
One small request: If you liked this post, please share this?
One "tiny" share from you would seriously help a lot with the growth of this blog. Some great suggestions:- Pin it!
- Share it to your favorite blog + Facebook, Reddit
- Tweet it!