File History, included in Windows 8, 8.1 and Windows 10, is used to backup your personal files at chosen intervals and recover a specific version of the file you want from backup. To use File History you need to select an external drive or a network location where you want to backup the files to. You can designate an external drive or network location for File History for multiple PCs. We’ll see how to configure and use File History in Windows 8 and 10 in today’s post.
Instructions below are written for Windows 10, and are almost similar in Windows 8 or 8.1. There are two ways to configure File History, one using the classic Control Panel and another way is to use the modern File History settings app.
(If using the File History Settings app, click Start, type File History, and click File History Settings. The following steps use the classic Control Panel setting, which I personally prefer.)
Right-click Start to open the Win+X Menu, and click Control Panel, and click File History
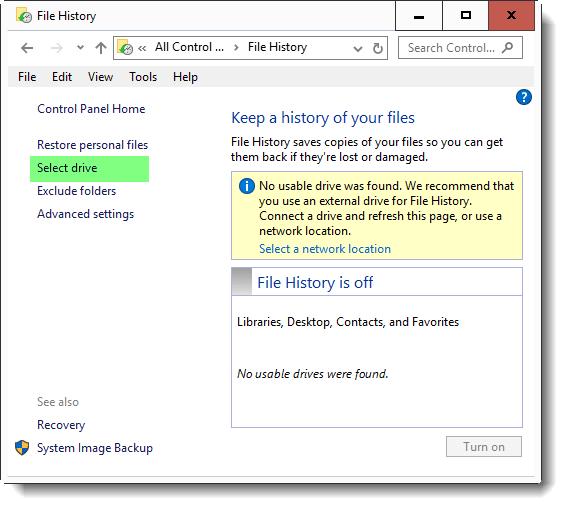
Connect an external USB drive or flash disk, or have a network storage location ready. Then click the Select drive option in the left pane.

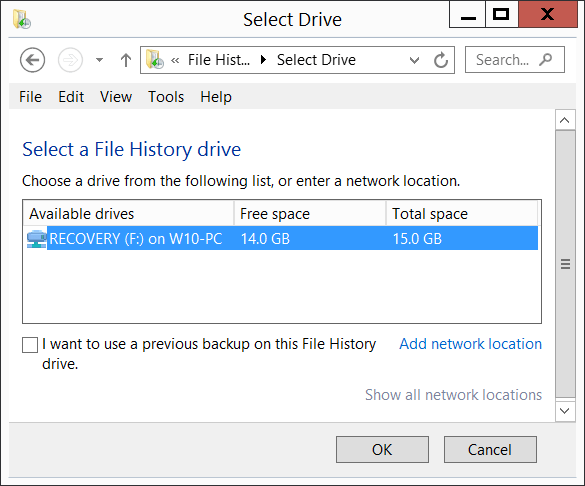
Select the external drive from this list, and click OK. Alternately, you may add a network storage location in this page.
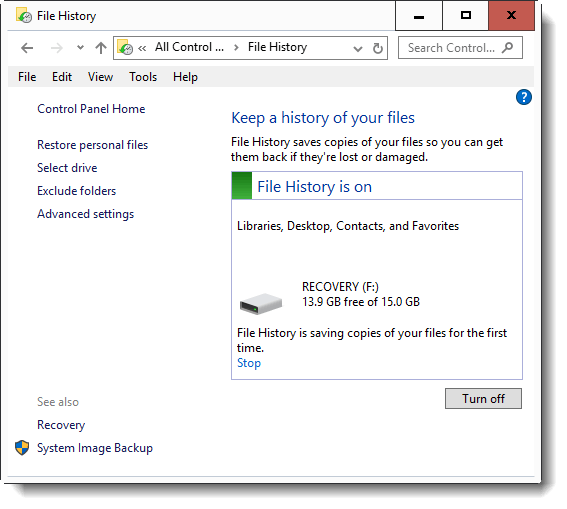
At this point, File History starts backing up your personal files in Libraries, Desktop, Contacts and the Favorites folder. To exclude a certain folder, say Videos or the Pictures library, click Stop, and click Exclude folders in the left pane.

Add the folders or libraries you want to exclude, and click Save changes. File History starts the backup automatically.
For some users, the exclusions don’t work as it should… but that’s for another article.
In order to add custom locations, you’ll need to create a custom library and include locations in there, and File History automatically backup the folders included in the custom library.
Advanced Settings
There is a Advanced settings page that you can access by clicking Advanced settings link in the left pane. Here you can set how often the backup is to be done, and how long to store the backup. I set mine to every hour (default) and to keep the backups for 3 months.
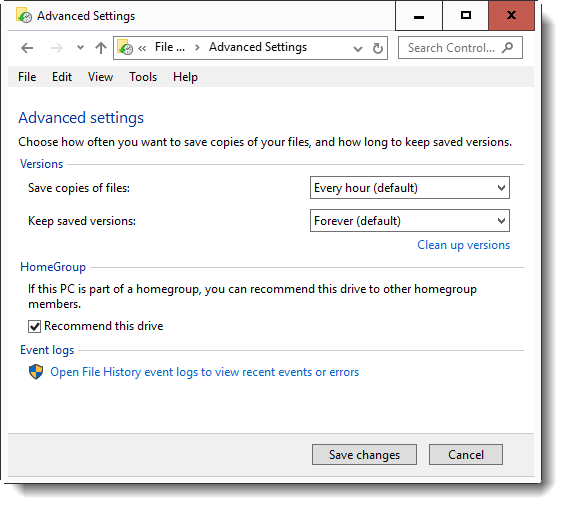
Under the HomeGroup category, there is an option called Recommend this drive. This option when ticked, makes the external drive available for other computers included in your Homegroup, and running Windows 8 or 10. Selecting this option creates a file share, and makes it available for HomeUsers group, so that it can be designated for File History backups for multiple computers. The share is located at \\Computername\FileHistory1 pointing to the FileHistory folder in the external drive.
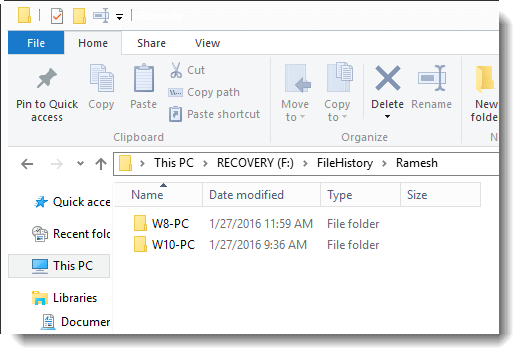
I recommended this drive in my Homegroup, and it duly showed up in my Windows 8 computer’s File History dialog, as "(F:) on W10-PC", and successfully backed up from there as well.
Another option in the Advanced setting page that you might want to keep a glance at occasionally, is the Open File History event logs to view recent events or errors. Clicking this option opens the Event Logs Viewer, straight to the File History backup logs located at:
Applications and Service Logs -> Microsoft -> Windows -> FileHistory-Engine -> File History backup log
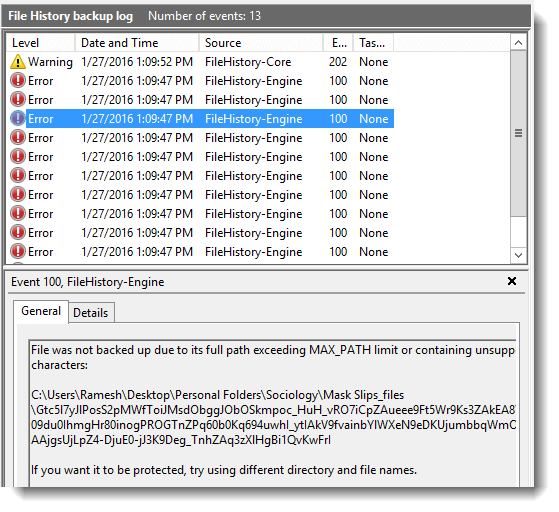
In my case, the File History had skipped backing up a file as it clearly exceeded the MAX_PATH limit. The file was a saved webpage which contained a lengthy file name and File History had to skip it. For this, File History didn’t show any interactive error message, but had silently written the failed event to the log. If you encounter this MAX_PATH issue, simply zip the file or folder. So, keep a check on this File History backup log at least once in a while!
Restoring Previous Backups from File History
If you want to restore a previous version of a file from File History backup, right-click the specific file and choose Properties. Click the Previous Versions tab. This tab lists all available versions of the file, not just from File History backup, but also from restore points or from Windows Backup and Restore, if you had used the Backup and Restore tool earlier.
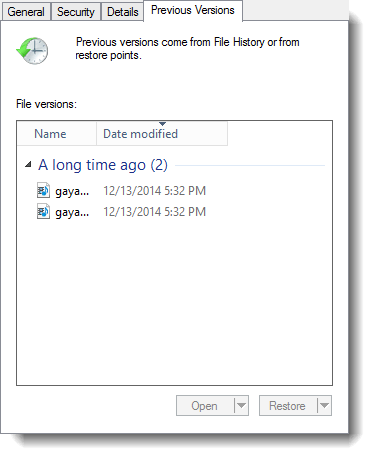
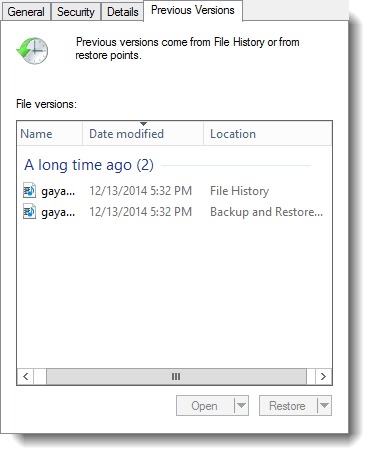
The question is how to choose the version you need from the list, and from which source? You choose the version, based on the date-time stamp. Another option is to add the Location column to the header by right-clicking the column header and clicking More…. Select Location and click OK.

This also lists the source location for each version of the file available, and the name of the source application that has an earlier version of the file. Choose the version you want and click Open, or the Restore button whichever is available. For File History versions, the Open button and the sub-option Open in File History would be active, and for Backup and Restore versions, the Restore button and the sub-option Restore to… would be active.
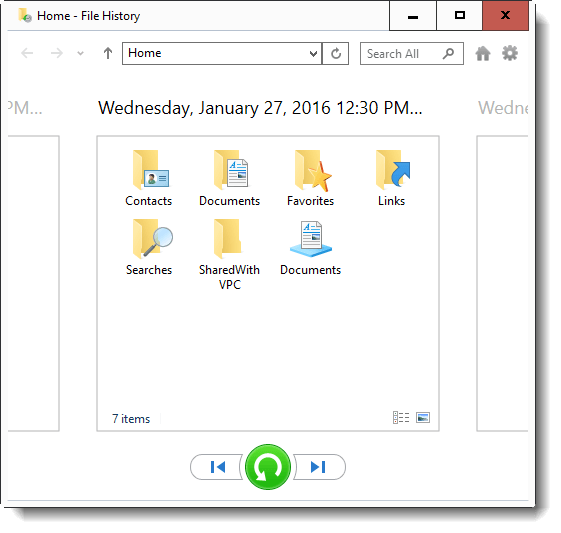
To view the File History’s entire backup collection that contains all versions of files, you can also click the option named Restore personal files in the File History Control Panel, as in the 1st screenshot above. Alternately, run the file FileHistory.exe from Run or Search. This opens a nice GUI where you can browse the collection similar to File Explorer, and restore the one you need.
See also: How to Delete Older Versions of Files from File History Backup?
Using File History is plain simple, but this article was written to highlight some subtle things that’s often overlooked in Windows 10’s File History. If you liked this article, don’t forget to drop your comments.
One small request: If you liked this post, please share this?
One "tiny" share from you would seriously help a lot with the growth of this blog. Some great suggestions:- Pin it!
- Share it to your favorite blog + Facebook, Reddit
- Tweet it!