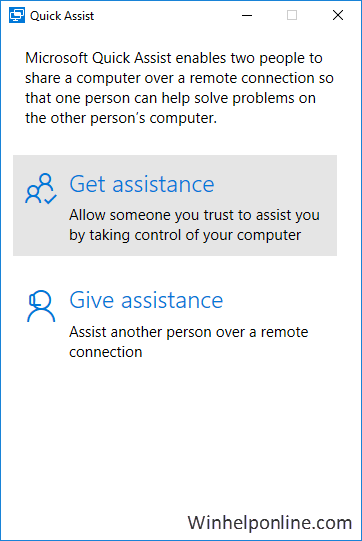
Quick Assist is a remote assistance program which is included in the Windows 10 Anniversary Update, but not much advertised. Here is a walk-through on how to use “Quick Assist”.
Give Assistance
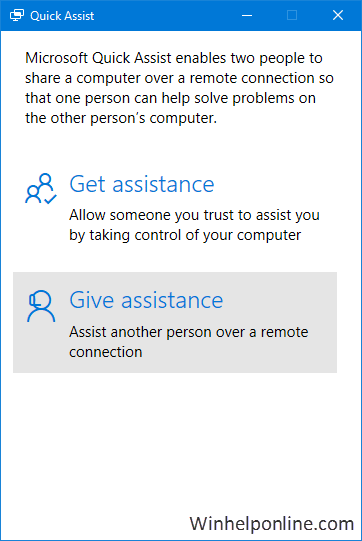
Start Quick Assist app from Start menu All Apps – Windows Accessories, or using search. Here is the sequence of steps if you’re going to help someone.
Click Give assistance
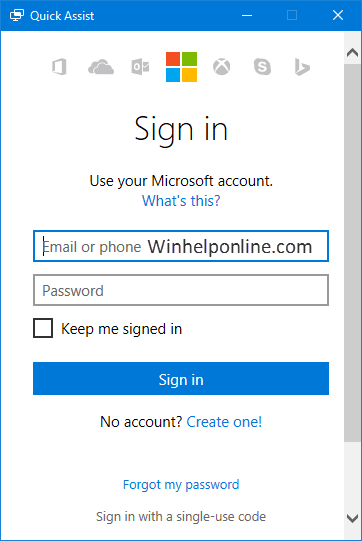
You’ll need to sign in with a Microsoft account. Optionally, you can sign-in with a single-use code (sort of a PIN) if you don’t want to type in your MSA credentials.
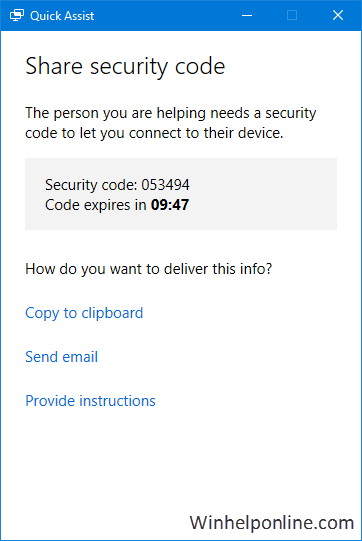
The Security code would be generated and is valid for the next 10 minutes. Share this code with the person who wants to receive help.

Get Assistance
Here are the steps to receive help from an expert.
Start Quick Assist app from Start menu All Apps – Windows Accessories, or using search.
Click “Get Assistance”
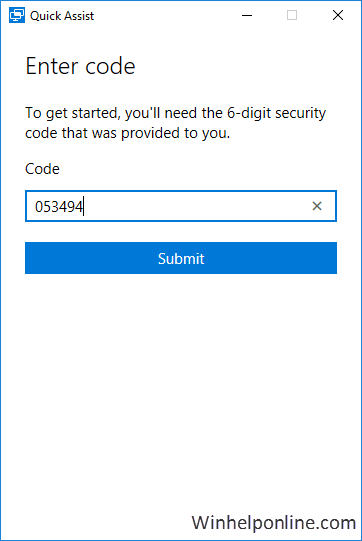
Enter the security code you received from the expert.
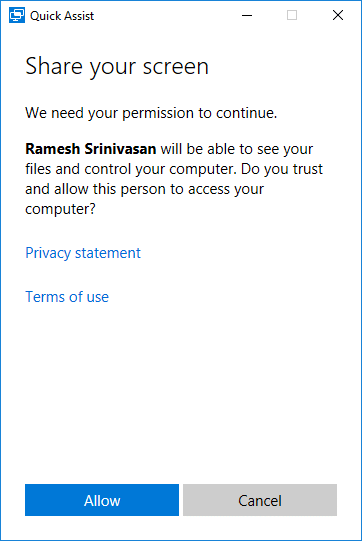
Permit full control access to the expert by clicking Allow
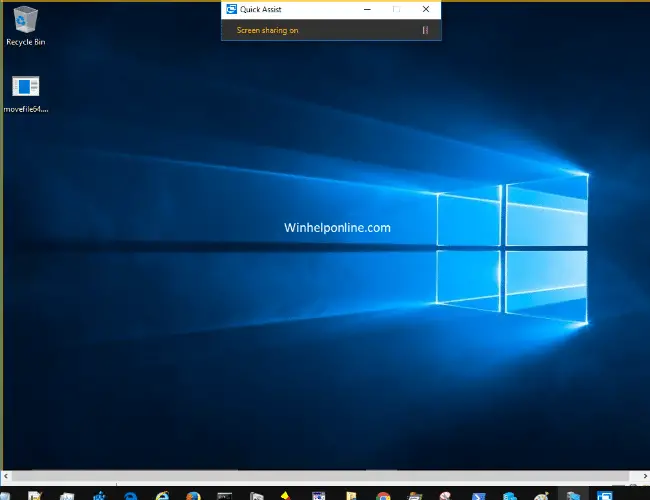
Quick Assist – Window Screenshots
After connection is established, here is how the screen looks like in the target computer.
And here is the user interface of the Quick Assist administrator – the one who is providing assistance.
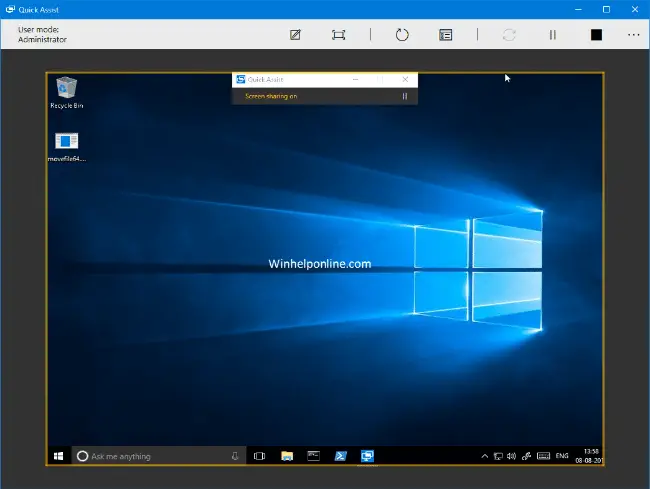
The Admin toolbar has a set of handy buttons: Annotate, Fit Screen, Restart (the remote computer), Task Manager, Pause and End.

And when the session is Ended either by the admin or by the receiver, a feedback screen would pop-up in both the computers, where you can enter your rating and comments.
That’s it!
One small request: If you liked this post, please share this?
One "tiny" share from you would seriously help a lot with the growth of this blog. Some great suggestions:- Pin it!
- Share it to your favorite blog + Facebook, Reddit
- Tweet it!
I tried to use my Office365 (Work) email but does not work.
How do I uninstall Quick Assist? I don’t want it!
@Christopher: Quick Assist can’t be uninstalled afaik. It’s an .exe file windows\system32\quickassist.exe that only administrators can run.