Windows Defender’s built-in scheduled task named “Windows Defender Scheduled Scan” is run by Automatic Maintenance when the system is idle. If you’ve deleted this task by mistake, this post tells you how to get it back in Windows 10. Use any one of the following methods.
Restoring Windows Defender Scheduled Scan from XML file
- Download Windows Defender Scheduled Scan.zip.
- Unzip the archive and extract the XML file to a folder:
- Open the XML file using Notepad.
- Change the path to
MpCmdRun.exein the XML file accordingly. The folder name/version will vary on your computer depending upon the current Windows Defender platform installed.<Command>C:\ProgramData\Microsoft\Windows Defender\platform\4.18.2104.14-0\MpCmdRun.exe</Command>
- Save the XML file.
- Open Task Scheduler and go to this folder:
Task Scheduler Library → Microsoft → Windows → Windows Defender
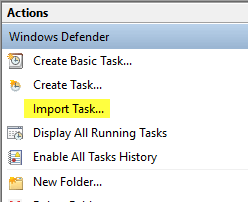
- Click Import Task…
- Browse and select the
Windows Defender Scheduled Scan.xmlfile saved on your Desktop. - Click OK when the Create Task dialog appears.
This restores the Windows Defender Scheduled Scan Task to Task Scheduler.
(Last updated on July 18, 2022 – Windows 10 v21H2 is the current build as of this post revision.)
One small request: If you liked this post, please share this?
One "tiny" share from you would seriously help a lot with the growth of this blog. Some great suggestions:- Pin it!
- Share it to your favorite blog + Facebook, Reddit
- Tweet it!
I setup Windows Defender Scheduled Scan as I prefer and stay like this few hours .. or if I reboot computer it is changed instantly after reboot.
Basically after computer reboot it is deleted and Recreated again .. forgetting my particular settings.
This is happening on Windows 2019 and 2022 and it is crazy.
Any idea how to let it remain as i setup not resetting by default settings somehow automatically ???