Due to file size restrictions or other reasons, sometimes, your friends or co-workers may send videos in multiple parts. This is especially the case when you get the videos from WhatsApp, email, or other social media platforms. Once downloaded, you may want to combine the multiple clips into one single video for easier management.
We’ve seen how to do merge videos using the built-in Photos app. But this post tells you how to combine multiple video clips into one, using 3rd party freeware like Avidemux, FFmpeg, etc.
Merge videos using Avidemux
Avidemux is a free video editor designed for simple cutting, filtering, and encoding tasks. It supports many file types, including AVI, DVD compatible MPEG files, MP4, and ASF, using various codecs. It also supports the command-line feature for batch operations.
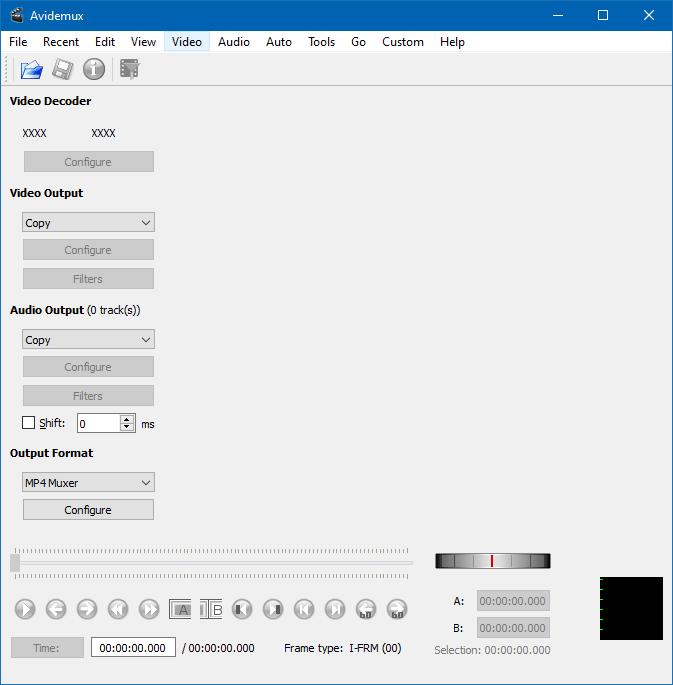
To merge multiple video clips into a single video using Avidemux, use the following steps:
- Download Avidemux from the following link and install the program:
https://www.fosshub.com/Avidemux.html
- From the File menu, click Open…
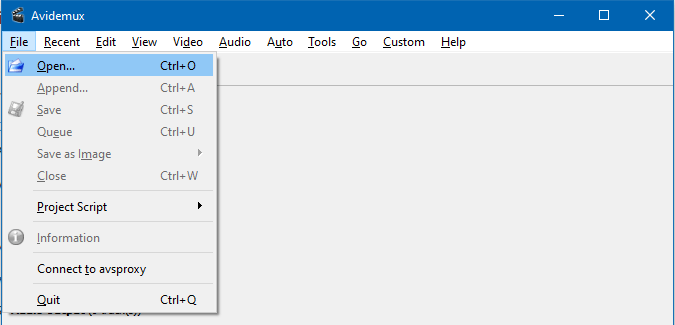
- Browse to the location of the 1st video clip and select it.
- From the File menu, click Append…
- Locate your second video clip in the browse dialog.
Merging dissimilar video clips
If the 2nd video clip is of a different type, resolution, framerate, bitrate, or made of a different codec than the 1st video clip, you’ll get an error saying, “width and height are different between first and this video stream” & “You cannot mix different video dimensions yet. Using the partial video filter later, will not work around this problem“.
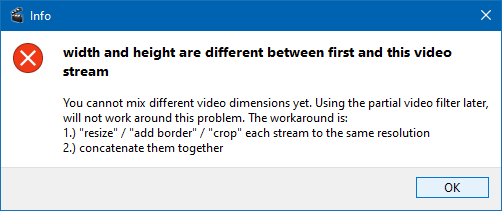
For example, if the clips are of different resolution, you’ll need to find the lowest resolution of the files and resize the rest of the clips them to make them even. For detailed instructions, see the article How to Resize or Change the Resolution of a Video File
However, in this example, I’m trying to merge similar video clips (which were earlier split from a single show.)
- Similarly, append additional clips (if any) one by one.
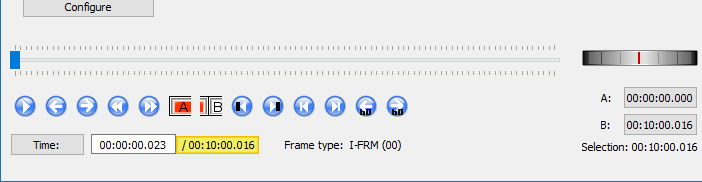
(When you append additional clip(s), there wouldn’t be any visible change in the Avidemux user interface. However, upon a closer look, you’ll see that the total video duration in the Navigation toolbar below has increased.)
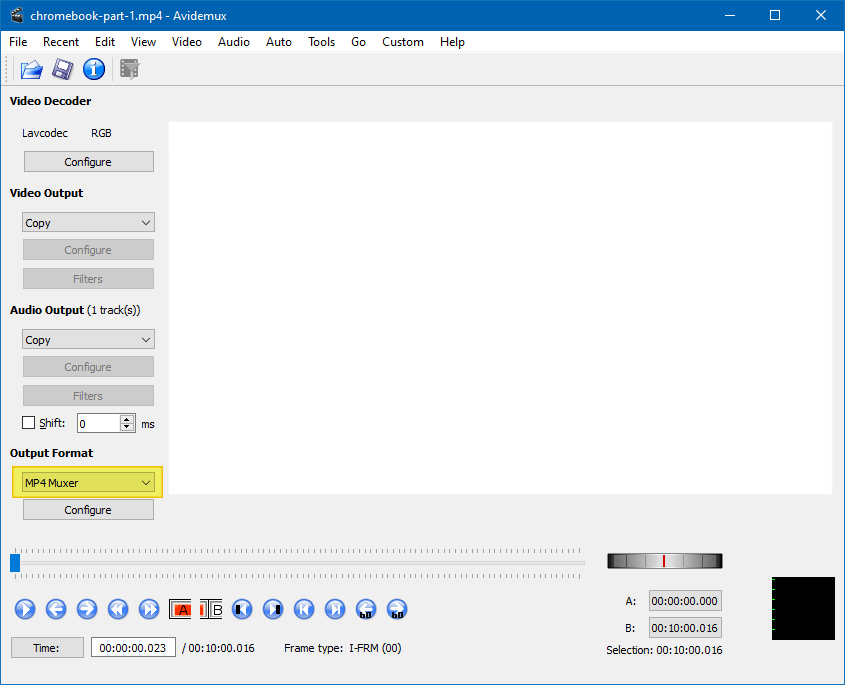
- Leave the Video Output option as Copy
- Leave the Audio Output option as Copy
The Copy option makes sure that the files are merged as-is, without re-encoding. This is the ideal choice, especially if you’re combining video clips of similar specifications — perhaps split from a single video/show.
Copy mode
When the audio or video encoder is set to Copy, it means no re-encoding takes place, and the audio or video track from the input file is just copied to the resulting file as-is. This means it is speedy (usually a couple of minutes), and there is no quality loss.
Use the copy mode when:
- you want to cut out parts from the video without changing the output format.
- you want to append several files (using either File→Append or the automatic appending that Avidemux provides) – if the resolution (width, height), video format, audio format, audio bitrate, and the sampling rate is the same for all files, you can use the copy mode.
- you want to fix constant audio/video desync (using the Shift option in the audio section.)
- you want to perform technical changes like saving the video to a different container.
Encoding mode
When you select an audio or video encoder, the audio or video track is re-encoded. If the compression is lossy (with most encoders it is), this implies quality loss. Encoding is also much slower than copying.
Use the encoding mode when:
- you want to perform audio or video format conversion.
- you want to compress the file to a smaller size (at the expense of quality.)
- you have to do precise cutting that’s not possible to do on keyframes.
- you want to use filters (it is impossible to filter audio or video without re-encoding it.)
- you want to join several files with differing properties (different formats, different resolution, etc.)
- Set the Output Format to MP4 Muxer. You have MKV, AVI, and other formats as well in the list. Choose one accordingly.
- From the File menu, click Save. Please select a file name and save it to the desired location.
Here’s the file size comparison of items merged using the Photos app Versus Avidemux.
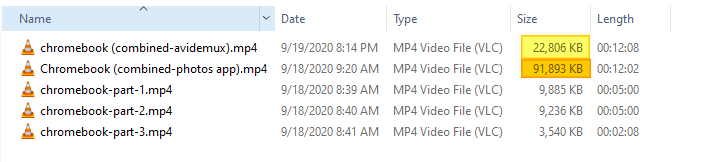
The Photos app re-encodes the file regardless of whether the source files are similar not. In Avidemux, you have the choice to do a simple merge (Copy) of identical video clips without having to re-encode.
Using Avidemux command-line
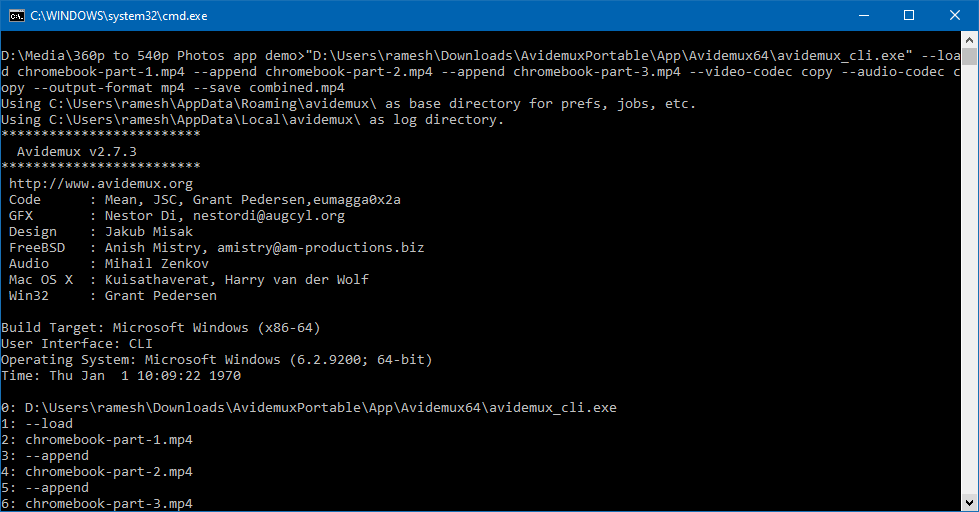
Avidemux has a command-line tool (avidemux_cli.exe) located in the same folder as the Avidemux program folder. To merge multiple video clips (without re-encoding), here’s the command-line to use:
avidemux_cli.exe --load file1.mp4 --append file2.mp4 --append file3.mp4 --video-codec copy --audio-codec copy --output-format mp4 --save combined.mp4
In my case, I’d run the following from the same directory where the video clips are located:
avidemux_cli.exe --load chromebook-part-1.mp4 --append chromebook-part-2.mp4 --append chromebook-part-3.mp4 --video-codec copy --audio-codec copy --output-format mp4 --save combined.mp4
The above command-line parameters are explained below:
--load filename
load video or workbench

--append filename
append a video

--video-codec codec
set video codec (Divx/Xvid/FFmpeg4/VCD/SVCD/DVD/XVCD/XSVCD/COPY)

--audio-codec codec
set audio codec (MP2/MP3/AC3/NONE (WAV PCM)/TWOLAME/COPY)

--output-format format
set output format (AVI|OGM|ES|PS|AVI_DUAL|AVI_UNP|...), often named as a container format

--save filename
save the file.
(Please keep checking this page for updates. I’m planning to cover additional open-source or freeware video editing tools in the same article.)
One small request: If you liked this post, please share this?
One "tiny" share from you would seriously help a lot with the growth of this blog. Some great suggestions:- Pin it!
- Share it to your favorite blog + Facebook, Reddit
- Tweet it!