Windows automatically runs scheduled maintenance on a daily basis when you’re not using your computer. This feature is called Automatic Maintenance, which takes care of updating Windows Store apps and other software, running Windows Defender scans, system diagnostics, Disk Cleanup, etc.
Besides the maintenance tasks created by Windows, third-party programs can add their Automatic Maintenance scheduled tasks. These scheduled jobs are triggered when you leave the system idle for about five minutes. If you start using the computer again, the tasks stop within seconds, and they will run the next time the computer is not being used.
To see the list of automatic maintenance scheduled jobs along with the task path (in Task Scheduler) and State, you can use PowerShell. Start PowerShell as administrator and then run this command:
Get-ScheduledTask | ? {$_.Settings.MaintenanceSettings}
Be sure to run the command from an admin (elevated) PowerShell window, or else some tasks may not be listed. After you execute the command, you’ll see a long list of maintenance tasks. If you wish to selectively disable the tasks without turning off automatic maintenance altogether, you can do so using the Task Scheduler tool.

Automatic Maintenance is a useful feature in Windows 8 and Windows 10, designed to run without negatively impacting the system performance and energy efficiency. Automatic Maintenance shouldn’t be disabled in most cases. However, if you’re running multiple virtual machines simultaneously on a single host and want to conserve CPU resources, you can prevent automatic maintenance tasks on the VMs from firing when idle.
Here is how to disable Automatic Maintenance using a registry edit.
Disable Automatic Maintenance in Windows 10
- Start the Registry Editor (regedit.exe)
- Go to the following registry location:
HKEY_LOCAL_MACHINE\SOFTWARE\Microsoft\Windows NT\CurrentVersion\Schedule\Maintenance
- Create a DWORD value named MaintenanceDisabled if it doesn’t already exist.
- Double-click MaintenanceDisabled and set its data to 1
- Exit the Registry Editor.
This disables automatic maintenance.
Automate using registry file
To automate the above setting, download automatic_maintenance_turn_off.zip, unzip and run the enclosed REG file. To reverse the changes, run the file named undo.reg.
Note that to disable Automatic Maintenance on a virtual machine, you’ll need to apply the registry settings on the virtual machine instead of the host.
Quick Tip: Running Automatic Maintenance on demand, manually
To start Automatic Maintenance tasks on demand, press WinKey + R to bring up the Run dialog. Type the following command and hit ENTER:
mschedexe.exe Start
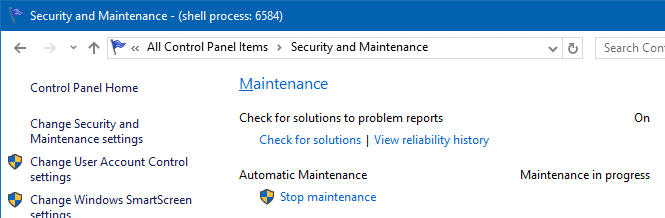
Alternatively, you can open the classic Control Panel, open the Security and Maintenance page, and click “Start maintenance.” You need administrative privileges to start the task on demand.
One small request: If you liked this post, please share this?
One "tiny" share from you would seriously help a lot with the growth of this blog. Some great suggestions:- Pin it!
- Share it to your favorite blog + Facebook, Reddit
- Tweet it!
I am running this computer, which is running fully patched Windows 10, with MaintenanceDisabled set to 1. It has just run automatic maintenance. It would appear that this method does not work any more. Any other suggestions?
There may be other background tasks (like pagefile hogging processes) taking up disk I/O
Did you try reenabling it? There must have been a system update