Is your hard drive showing up full, and wondering how to find the biggest consumers of disk space? It’s probably the Disk Cleanup tool that comes to mind at this situation. While Disk Cleanup is an excellent utility, it lists items only from fixed locations, although fully serving the purpose it was originally written.
Even after cleanup, there could be something still filling up your hard drive in an obscure directory path; and you need a directory statistics tool to find it out. Windows 10 includes one such statistics tool built-in, the Storage settings page.
Click Start, Settings, System, and click Storage. You’ll see a view similar to This PC. If you click a drive-letter, the Storage settings page after a bit of processing, lists out the disk space taken by each kind of file system item.
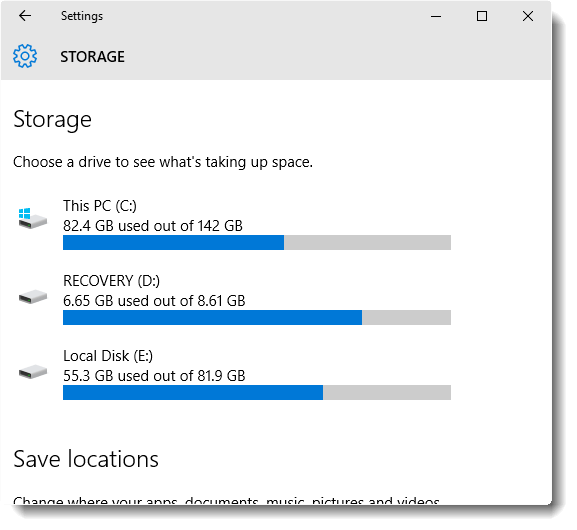
I clicked the C: drive, and this is what it listed, with neat data visualization using color scheme.
Note: The storage settings app may show results from the last time you used the tool. If the "Last refreshed" date and time shows an earlier date, you may need to refresh it by clicking the refresh symbol.

Temporary files, represented in light-grey turned out to be the mega consumer in my C:\ drive. Clicking Temporary Files opened up to another level…
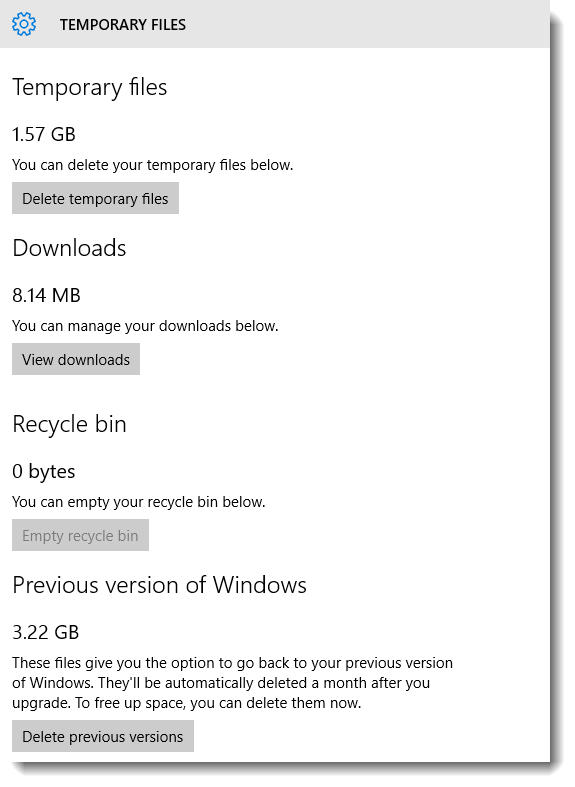
This screen lets you delete temporary files, empty the Recycle Bin and delete the previous Windows installation (if you’ve upgraded to Windows 10) folder Windows.old. The Windows.old folder would be cleared automatically 30 days after upgrading to Windows 10 anyway.
First, the tool gives the summary for system & reserved files and for each "kind" of file, then narrows it down to the exact folder where the item is located. Third-party tools such as WinDirStat use a different visualization method and different approach; giving file-wise data as well in the same interface.
Windows 10’s Storage settings page, although not feature-wise comprehensive like third-party utilities such as Windirstat and others, would still get the job done. It’s definitely a welcome addition in Windows 10!
One small request: If you liked this post, please share this?
One "tiny" share from you would seriously help a lot with the growth of this blog. Some great suggestions:- Pin it!
- Share it to your favorite blog + Facebook, Reddit
- Tweet it!